

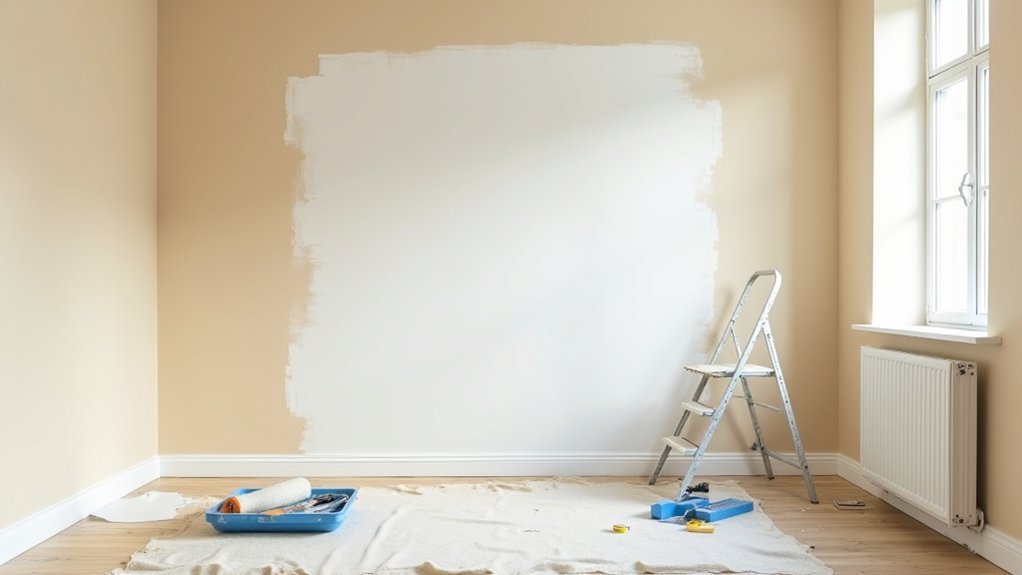
You don’t need a huge budget to get pro-looking walls, but you do need a plan that protects your time and paint spend. You’ll measure for accurate gallons, pick a finish that holds up, and prep surfaces so coverage stays even and touch-ups disappear. Skip these steps and you’ll pay twice in extra coats and repairs. Start with the room setup and wall prep, because that’s where your ROI is decided…
Plan Your Interior Wall Repaint Like a Pro
Before you crack open a paint can, how will you make sure this repaint pays off instead of turning into a costly redo? Start by defining the goal: boost resale appeal, refresh a high-traffic room, or match new decor.
Then set a tight scope—which walls, which rooms, and what finish—so you don’t buy extra supplies. Compare Color schemes with your fixed elements (flooring, counters, tile) and choose two to three options that photograph well and feel neutral; this protects ROI and reduces future repaint risk.
Measure wall square footage and calculate gallons using the label’s coverage rate, adding a small buffer only for touch-ups.
Finally, map furniture placement now so you prioritize focal walls and avoid awkward cut-ins later.
Prep the Room Before You Repaint Walls
Where does a pro-quality repaint really start—on the wall, or in the room? It starts with a smart setup that protects your budget and boosts ROI.
Clear the space so you work faster and waste less paint. Use furniture placement to create a central “staging zone”: move big pieces to the middle, then cover them with a single plastic sheet instead of many.
Pull rugs, art, and window treatments so they don’t trap dust or splatter. Remove switch plates, vent covers, and hardware, and bag the screws so nothing gets lost.
Tape off trim only where you can’t remove items. Check lighting and test your plan against Color psychology by viewing sample boards at day and night before committing.
Clean, Patch, and Sand Interior Walls Smooth
Now you’ll save paint and get a cleaner finish by starting with a quick wash to remove dust and grease, so primer actually sticks.
Patch nail holes and cracks with a little spackle, keeping it tight so you don’t waste time and materials.
Once it’s dry, sand the repairs and rough spots smooth to avoid flashing and costly touch-ups later.
Degrease And Dust Walls
Even if you’re using top-shelf paint, it won’t stick to grease, dust, or handprints, so cleaning the walls first protects your budget and prevents costly touch-ups later.
Start by dry-dusting: vacuum with a brush attachment along baseboards, corners, and ceiling lines, then wipe with a microfiber cloth so you don’t grind grit into the wall texture.
Next, degrease kitchens, hallways, and around switches with warm water plus a small amount of dish soap, or a TSP substitute if buildup’s heavy.
Rinse with clean water and change rags often; dirty rinse water just redeposits film.
Let everything dry fully before you prime.
A clean surface keeps your paint palette true, improves coverage, and can save you an entire extra coat on the whole room.
Patch Holes And Cracks
Before you open a paint can, patch every hole and crack you can find because paint highlights flaws instead of hiding them—and fixing them upfront costs far less than repainting later.
Scan walls in raking light, circle damage with painter’s tape, and clear loose debris. For nail holes and tiny dings, press in lightweight spackle with a putty knife, then scrape flush to minimize waste.
For wider cracks, open them slightly with the knife tip, then fill with setting-type compound so it won’t shrink and telegraph through your finish.
If you’ve got repeated cracking, bridge it with mesh tape to protect your ROI. Match surrounding Texture patterns with the right compound and knife width, and plan color coordination by keeping patches tight and clean.
Wipe dust off after.
Sand For Smooth Finish
Once your patches dry, sand the wall smooth so your new paint looks like a pro job instead of broadcasting every ridge and knife mark. Use a sanding sponge or pole sander with 120–150 grit to feather edges, then finish with 180–220 grit for a paint-ready surface.
Keep pressure light and move in broad, overlapping strokes; you’re blending, not digging craters.
Match your sanding techniques to existing texture patterns: barely skim orange peel or knockdown, and don’t flatten them unless you plan to retexture the whole wall.
Shine a work light across the surface to spot highs and lows before paint makes them permanent.
Vacuum dust, then wipe with a damp microfiber cloth. This small step costs little and saves a full repaint later.
Choose the Right Paint Finish and Sheen
Now that your walls are smooth, you’ll get the best ROI by choosing the right paint finish and sheen, not just the cheapest gallon. You should understand sheen levels (flat to gloss) and match the finish to each room’s traffic, moisture, and lighting so it wears well and still looks sharp.
You’ll balance durability and style by using tougher sheens where you scrub and softer sheens where you want to hide flaws and keep costs down.
Understand Sheen Levels
Picking the right sheen can make a budget paint job look high-end and hold up longer, so you won’t waste money repainting sooner than necessary. Sheen is basically how much light the dried paint reflects, and it affects durability, touch-ups, and how flaws show.
Go flat to shiny on a simple ladder: matte, eggshell, satin, semi-gloss, gloss. Matte hides bumps and patches best, but it scuffs easier and can look blotchy if you overwork it. Matte versus eggshell comes down to washability: eggshell buys you a little more wipe-down power with only a slight shine. Satin adds noticeable durability and a cleaner look, yet it can highlight roller marks. Gloss versus satin is mostly about reflectivity and toughness—gloss resists grime most, but it spotlights every dent.
Match Finish To Room
Where should you spend extra for a tougher finish, and where can you save with a flatter one? Match sheen to how each room earns its keep. In kitchens, baths, and kids’ zones, choose satin for walls; it resists steam and splashes, so you repaint less often. For trim and doors, pick semi-gloss to sharpen lines and boost perceived value.
In living rooms, dining rooms, and bedrooms, eggshell gives a clean look without spotlighting every bump, keeping prep costs down. If your ceilings are uneven, use flat to hide flaws fast.
Let Color psychology guide the mood—calmer sheens plus soft tones read restful, while slightly higher sheen can energize. Finish with furniture coordination: test swatches beside upholstery and wood so undertones match under your lighting.
Balance Durability And Style
Although every finish shares the same color label, sheen determines how long your paint job looks fresh—and how much you’ll spend fixing scuffs later. For the best ROI, pick the lowest sheen that still survives your daily wear.
Flat hides dents and patchwork, so it’s great for ceilings and low-traffic walls, but it marks easily.
Eggshell or satin costs a bit more yet saves money by wiping clean without repainting; use it for hallways, kids’ rooms, and main living areas.
Semi-gloss pays off on trim, doors, and cabinets because it resists fingerprints and looks crisp.
Test sheen under your lighting during color coordination, then check how it reflects around furniture placement—gloss can spotlight bumps behind sofas.
Gather the Best Tools for Repainting Walls
Before you crack open a paint can, gather the right tools so you don’t waste money on streaky coverage, drips, or do-overs. Start with a 9-inch roller frame, 3/8-inch nap covers for most walls, and a 2–2.5-inch angled sash brush for clean edges. Buy a sturdy paint tray or bucket with a roller grid; it loads evenly and reduces splatter.
Add painter’s tape, a caulk gun, and a putty knife for quick touch-ups that protect your finish. Use a drop cloth (canvas beats plastic) and a pole to speed up large areas. Keep a damp rag, stir sticks, and a pour spout handy.
Match Color palettes and furniture coordination with swatches, then label everything for fast, repeatable results.
Prime Interior Walls for Even Color
Even if you’ve bought premium paint, primer does the cost-saving heavy lifting by sealing porous drywall, locking in stains, and giving you a uniform base that needs fewer finish coats.
Pick the right primer: PVA for new drywall, stain-blocking for water marks or smoke, bonding primer for glossy trim-adjacent walls or repaired patches.
Spot-prime repairs first, then prime the full wall when you’re shifting from dark to light, covering bold hues tied to Color psychology, or trying to make Historical styles look authentic and consistent.
Roll primer evenly and keep a wet edge so sheen and color don’t telegraph later.
Let it cure fully per the label; rushing wastes paint and invites flashing.
Lightly sand drips, then vacuum dust for a smooth, money-saving topcoat.
Cut In Clean Lines Before Rolling Paint
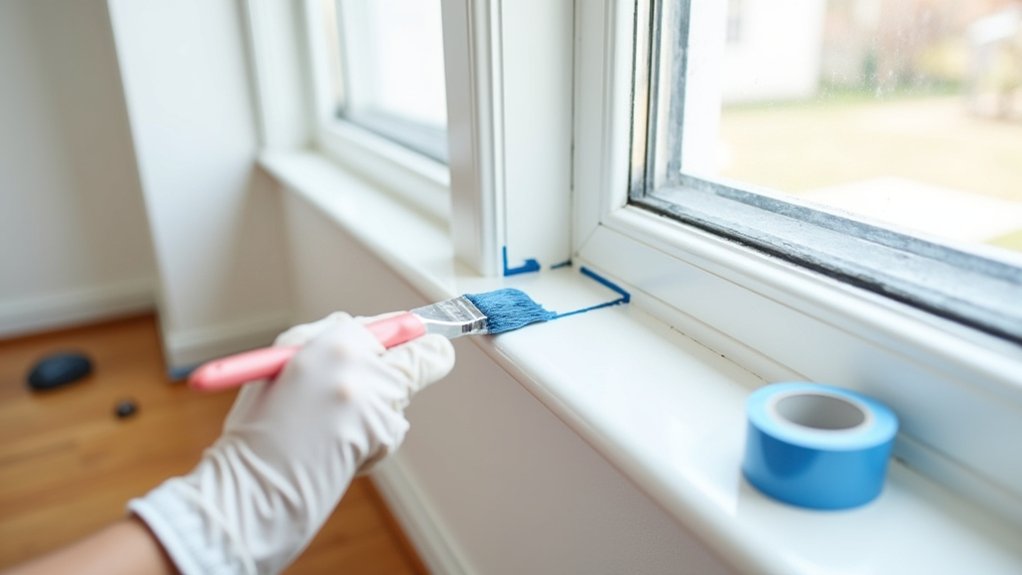
Once the primer’s cured and you’ve knocked down any drips, set yourself up for pro-looking edges by cutting in first. Clean lines make a DIY job look expensive, and they save you from paying for touch-ups later. Use a quality angled sash brush; it’s a small upgrade with big ROI because it holds more paint and lays it smoother.
Decide where you truly need edge tape: on textured trim, glossy surfaces, or if you’re new. Press it down hard, then run a thin bead of paint along the tape edge to seal it.
For your paintbrush technique, load only the first third of the bristles, tap—don’t wipe—then pull steady strokes, feathering the inside edge. Keep a damp rag handy for quick corrections.
Roll Interior Walls Without Streaks or Lap Marks
After you’ve cut in crisp edges, you’ll get the best ROI by rolling the wall fast enough to keep a wet edge, because most streaks and lap marks come from paint drying in patches.
Load your roller evenly, then roll a 3×3 section in a “W” and fill it in without lifting. Keep the roller moving, and overlap each pass slightly into the still-wet area. Don’t press hard; pressure squeezes paint out and leaves ridges.
Maintain consistent nap and speed for uniform sheen, especially with tricky Color selection like deep tones. Work top to bottom, finishing with light, single-direction strokes. Pause only at corners or trim lines.
For furniture protection, stage pieces in the center and cover them so you can roll uninterrupted.
Frequently Asked Questions
How Long Should I Wait Before Hanging Pictures on Freshly Painted Walls?
Wait 7 days before hanging pictures; you can lightly touch after 24 hours. You’ll protect paint sheen and avoid marks, saving touch-up costs for better ROI. Use color coordination to place art deliberately and limit holes.
Is Low-Voc Paint Safe for Bedrooms, Nurseries, and Pets?
Yes—low-VOC paint’s generally safe for bedrooms, nurseries, and pets when you choose reputable brands. For Low VOC safety, pick zero-VOC, Child safe paints, ventilate 48 hours, and save future cleanup and health costs.
What’s the Best Way to Fix Paint That Dried With Bubbles or Blisters?
Like Icarus flying too close, your fix starts by scraping paint bubbling and sanding smooth. You’ll prime with a stain-blocker, then repaint thin coats. Stop wall blistering by drying walls, cleaning grease, and using quality roller.
How Do I Remove Paint Splatters From Hardwood Floors and Carpet?
You’ll remove paint splatters by scraping dried drips off hardwood with a plastic putty knife, then wiping with warm soapy water; blot carpet with alcohol. Prioritize Floor protection—cheap drop cloths—to cut Paint cleanup costs.
Can I Paint Over Wallpaper, and When Should It Be Removed Instead?
Yes, you can Paint over wallpaper—but smooth today can blister tomorrow. For best ROI, seal tight seams and prime. Choose Wallpaper removal when it’s peeling, bubbled, damp-stained, or textured; repairs waste time and money.