

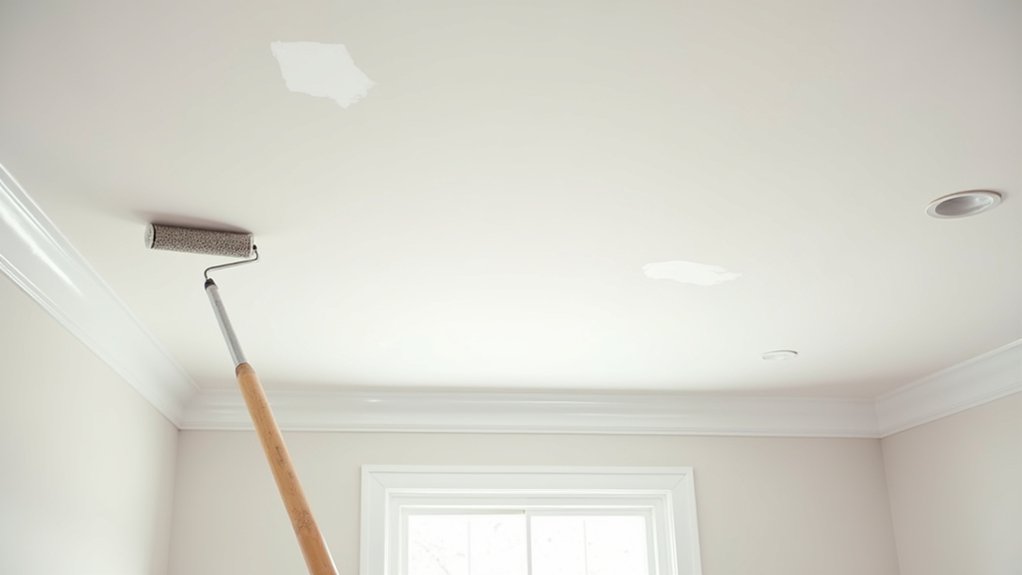
Ceilings can look perfect when you’re done, then show streaks and “shadows” the moment the light hits them. You can avoid that without pricey gear, but you’ve got to prep so the paint levels, pick a non-flashing ceiling formula, and match it with the right roller nap. You’ll also cut in to prevent picture-framing and roll in a pattern that keeps a wet edge. The key is one small habit most people skip…
Prep the Ceiling So Paint Levels Out
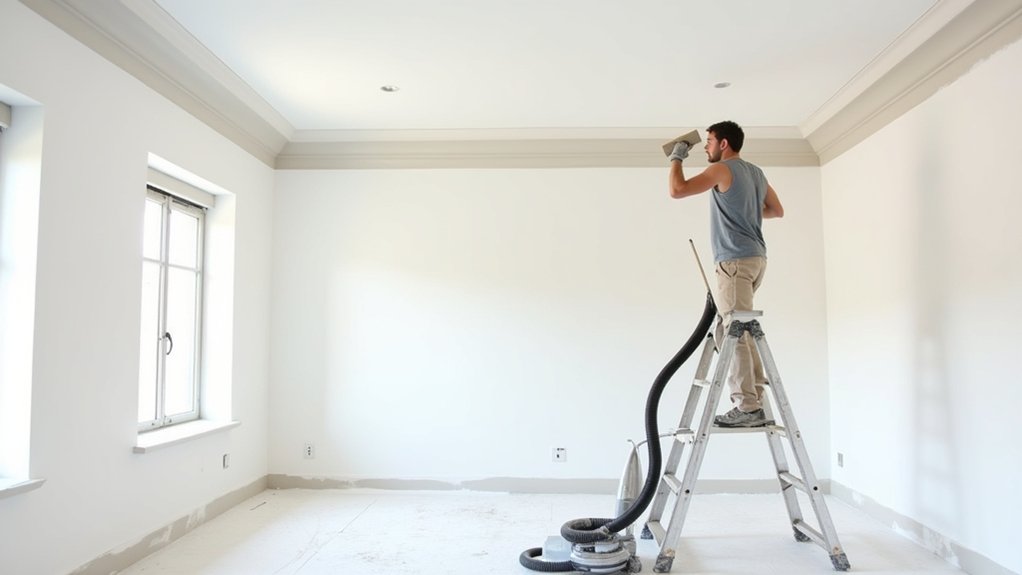
Before you even open the paint, get the ceiling clean, flat, and dust-free so the coating can self-level instead of telegraphing every bump. Vacuum cobwebs, then wipe with a damp microfiber and a mild degreaser where needed; let it dry fully.
Scrape loose texture and flaking paint with a putty knife, and fill dings with lightweight spackle. Keep costs down by buying a small tub and using a 6-inch knife for tight feathering.
Do surface sanding next: hit patches and glossy spots with 120–150 grit until edges disappear, then vacuum and tack-cloth the dust.
Spot-seal stains, then apply a consistent primer coating on repairs and porous areas so absorption stays even.
Mask fixtures, patch tiny gaps at trim, and you’re ready.
Choose Ceiling Paint That Won’t Flash
Although ceilings look forgiving, the wrong paint can “flash” and leave shiny bands where your roller overlaps or dries at a different rate, so choose a true ceiling paint labeled flat/matte with low sheen and high hide**** (it’s formulated to level and diffuse light).
Don’t grab leftover wall paint; even “eggshell” can telegraph lap marks under raking light, and a glossier paint finish exaggerates every patch. Match your product to your ceiling texture: smooth ceilings benefit most from high-hide flat, while heavier texture can still flash if the sheen creeps up.
If you’re on a budget, buy one quality gallon instead of thinning cheaper paint; under-covering forces extra coats and more overlap lines. Ask for a tint that dries uniform, like “ceiling white.”
Pick the Best Roller Nap for Ceilings
If you match your roller nap to the ceiling texture, you’ll lay down paint evenly and avoid the patchy “shadow” look that comes from skipping over high spots or overloading low spots.
For smooth ceilings, use a 1/4-inch to 3/8-inch nap; it holds enough paint without leaving fuzz or stipple.
For light roller texture or orange peel, step up to 1/2 inch so the fibers reach into the pattern.
For heavy knockdown or popcorn, use 3/4 inch to 1 inch, and budget for extra paint—longer naps drink more.
Keep paint thickness consistent: don’t over-dilute, and load the roller fully, then roll off the excess on the tray ramp.
Replace cheap shedding covers.
Cut In Edges Cleanly Without Picture-Framing
Before you cut in, you’ll save money on touch-ups by wiping trim clean, pulling any loose caulk, and taping only where it actually protects the edge.
Load your angled brush, then run a steady, thin line along the ceiling perimeter to keep it crisp without building a dark “frame.” Work in short sections and keep that cut line wet so your roller can blend in before the paint starts to set.
Prep Tape And Trim
A clean cut-in line starts with smart prep, not fancy tools, so take a few minutes to tape and trim the right way. Vacuum corners, then wipe crown molding and walls with a damp cloth so tape sticks and paint doesn’t creep. Remove dust nibs with a light sanding sponge.
Apply 1.5-inch painter’s tape on the wall, not the ceiling, keeping it straight and pressed tight with a putty knife. Seal the tape edge by burnishing; skip extra products.
If you’re doing color matching between ceiling white and wall color, label lids and stir well so you don’t grab the wrong can.
Use solid brush techniques: load the brush halfway, tap (don’t wipe) both sides, and keep bristles sharp by cleaning stray paint immediately.
Maintain Wet Cutting Edge
Once you start cutting in, keep that edge wet so the brushed band blends into your rolled coat instead of drying into a visible “picture frame.” Work in short, manageable runs (about 4–6 feet), then immediately roll right up to the cut line while it’s still glossy—don’t circle the room doing all the edges first.
Use smart brush techniques: load only the bottom third of the bristles, tap (don’t wipe) the brush on the bucket, and feather the last pass toward the field to thin the edge. Keep your roller ready in a tray so you’re not wasting time.
For paint mixing, stir often and pour into a working pail to maintain the same consistency and sheen. If paint starts to tack, stop and blend a fresh section instead.
Roll the Ceiling in a Pattern That Avoids Streaks
Even if you’ve got quality ceiling paint and a good roller, the way you move the roller determines whether the finish dries smooth or shows lap marks. Your rolling technique should follow a consistent pattern for streak prevention, not random back-and-forth passes.
Start in a corner and roll a 3×3-foot section in a “W” or “M” shape, then fill it in without lifting the roller. Keep your passes parallel and finish each section by lightly “laying off” in one direction, typically toward the main light source, so the texture reads evenly.
Use steady pressure—don’t mash the nap flat—and reload before the roller starts skipping. Overlap each new section by a few inches to blend coverage without creating ridges.
Keep a Wet Edge to Prevent Lap Marks
Why do lap marks show up on a ceiling that looked fine while you were rolling? Because the first section starts to dry, then you overlap it with fresh paint, leaving a ridge and a dull stripe.
Your fix is simple: keep a wet edge. Work in small, controllable strips and never let your roller run dry. Load it often, but don’t flood it—steady paint consistency matters more than speed.
If the paint feels thick, stir thoroughly and add only the manufacturer’s allowed water, measured, to keep costs down and results predictable.
Cut in just one strip ahead and blend it fast using clean brush techniques. Maintain light pressure, overlap by a few inches, and always roll back into wet paint.
Use Lighting and Dry Time to Stop Shadows
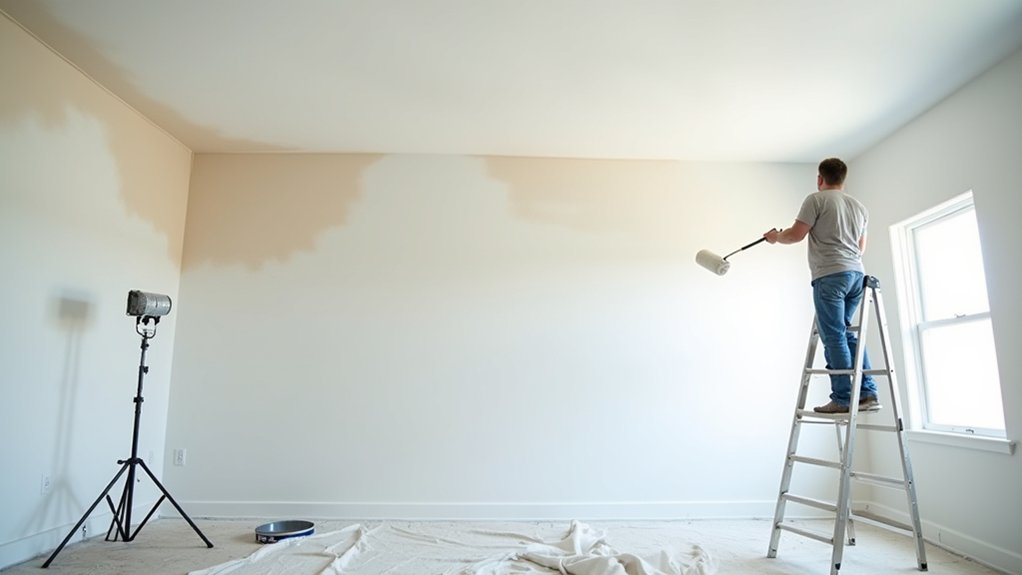
Set up a couple of inexpensive LED work lights at low angles and move them as you go so you can spot shadows and thin patches before they dry in place.
Keep your pace and roller load consistent so each section dries at the same rate, which helps prevent “picture framing” and uneven sheen.
Before you recoat, walk the room and check the ceiling from multiple angles under the lights, then touch up only what you can still see.
Position Work Lights Strategically
Because ceiling paint reflects light differently as it dries, you need your work lights positioned to show wet edges and lap marks before they lock in. Skip overhead fixtures; they hide ridges. Instead, set a cheap LED work light or clamp light low and aimed across the ceiling, not straight up. That raking angle exaggerates texture so you can correct it while it’s still workable.
Move the light as you move your ladder: keep it 6–10 feet away, angled parallel to your roller path. For shadow reduction, use two lights on opposite walls so you don’t chase your own silhouette.
If you’re on a budget, bounce light off a white poster board to soften hotspots. Always recheck lighting placement before each section.
Paint With Consistent Dry Time
One small change makes a big difference: keep every ceiling section on the same clock so it dries evenly. Work in manageable strips, about 3–4 feet wide, and don’t jump around the room. If one area sets up while the next is still wet, you’ll trap lap lines and create shadows under your work lights.
Control your pace with a wet edge: cut in a strip, then roll it immediately. Use smart brush techniques—light pressure, minimal re-brushing, and feathered edges—so you don’t leave ridges that flash when they dry.
Keep paint and room conditions consistent: same roller load, steady airflow, and no heater blasting one side. If you did primer application, match its dry time too before topcoating.
Inspect Angles Before Recoats
Even if you keep a perfect wet edge, you can still miss thin spots that only show up once the paint levels and dries. Before you recoat, do a quick Angle inspection with a cheap clamp light or your work light aimed across the ceiling, not straight up.
Move the light and your body to a few corners; raking light reveals lap marks, holidays, and roller ridges fast.
Let the coat reach full dry time per the can, then run a Surface assessment: look for dull patches, slight color shift, and soft edges around cut-ins. Mark misses with painter’s tape so you don’t waste paint repainting the whole field.
If shadows appear, feather those areas with a lightly loaded roller and recheck from multiple angles.
Frequently Asked Questions
How Do I Remove Popcorn Texture Before Painting the Ceiling?
Treat popcorn texture like yesterday’s baggage: soften it, then let it go. For Popcorn removal, mist, scrape, and bag debris. For Ceiling preparation, patch, sand, and prime. Keep costs down with plastic, scraper, and joint compound.
Should I Paint the Ceiling Before or After the Walls?
Paint the ceiling first, then the walls. You’ll avoid drips and save on touch-ups. Choose your paint finish early for easier cleanup, and plan Color coordination so wall cuts look crisp. Use painter’s tape.
Do I Need to Prime Over Water Stains or Smoke Damage First?
Yes—you need to prime first: water rings and smoke film bleed through fresh paint. That clean white becomes a yellow ghost. Priming importance is huge; use stain sealing primer, spot-apply, then topcoat to save money.
What’s the Safest Way to Paint Ceilings in Rooms With Ceiling Fans?
Turn off power at the breaker, lock the switch, and do Ceiling fan removal if possible. Use Safe painting tips: stable ladder, drop cloths, tape blades, cover motor, ventilate, and keep tools budget-friendly.
How Much Ceiling Paint Should I Buy for My Room Size?
You’ll need about 1 gallon per 350–400 sq ft per coat; measure ceiling length × width, double for two coats, add 10% waste. Color matching helps avoid extra. Use smart brush selection.