

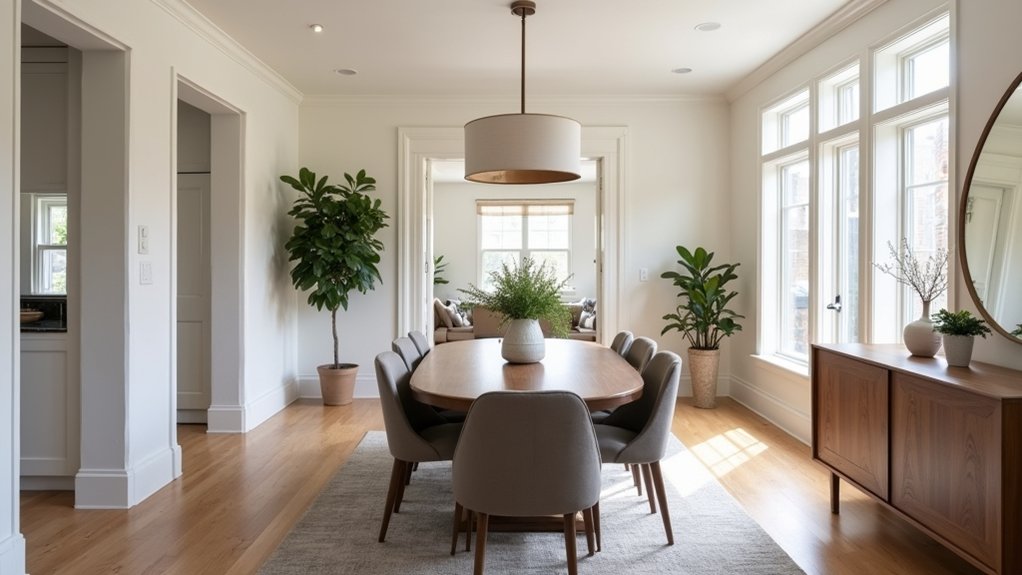
You’ll get the biggest return in a dining room by fixing flow first, then upgrading what people notice most. Start by tracing how you actually move from entry to table to kitchen, and clear those paths before you buy anything. Next, size the table to the room, lock in chair and walkway clearances, and anchor the layout on a focal point with lighting that defines the zone. The fastest wins are usually where you least expect them…
Map Your Dining Room Flow and Traffic Paths
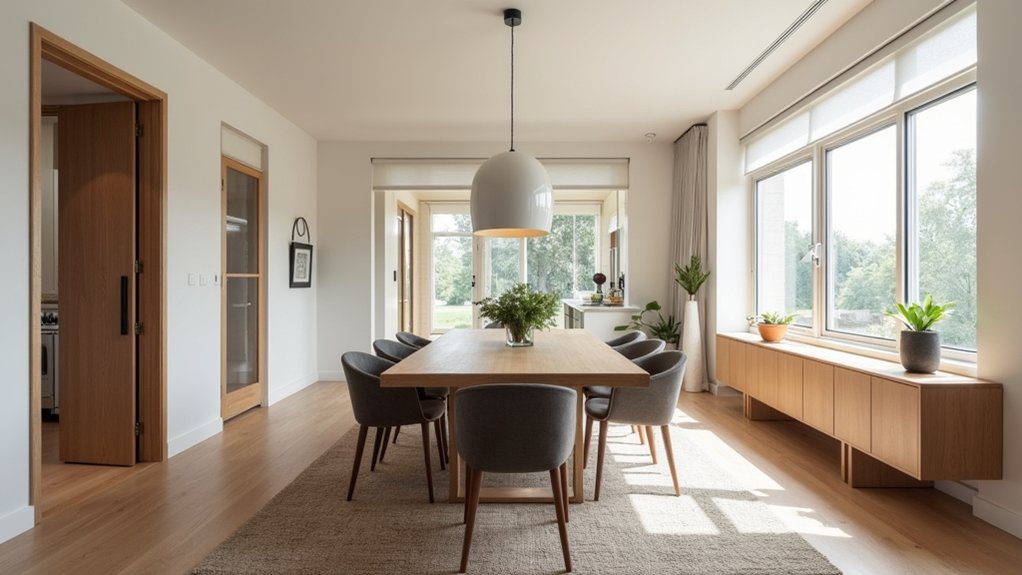
Before you buy a new table or move a single chair, map how people actually enter, pass through, and use your dining room so you don’t renovate into a bottleneck. Walk the room at peak moments—carrying plates, pulling out a chair, opening nearby doors—and note pinch points. Tape your “no-go” lanes on the floor to visualize traffic patterns, then protect them in your plan.
Prioritize circulation first: keep primary paths clear from entry to kitchen, buffet, and seating. Use spatial organization to group storage, serving, and display zones along walls, not in the center.
If a doorway dumps people into the dining area, add a slim console or runner to redirect movement. You’ll reduce daily friction and prevent costly rework later.
Choose the Right Dining Table Size and Shape
How big should your dining table be to feel generous without stealing your walkways? Start with your real headcount: daily users plus guests you host at least monthly.
Then size for comfort: allow about 24 inches of table edge per diner, and plan place settings at 15–18 inches deep.
If you entertain often, consider an extendable table; it boosts ROI by avoiding a permanent oversized footprint while protecting resale appeal.
Round tables work best when you want equal sightlines and easy conversation, especially in square rooms or tight corners.
Rectangular options maximize seating efficiency in long rooms and pair well with benches on one side.
Match the table’s visual mass to the room’s scale and ceiling height too.
Set Dining Room Clearances for Chairs and Walkways
Once you’ve chosen the right table size and shape, you’ll lock in comfort and resale appeal by setting the right clearances.
Give each chair enough pull-back space so people can sit and stand without scraping walls or bumping traffic lanes.
Then size your walkways to keep circulation smooth around the table, especially between doors, buffets, and high-use paths.
Chair Pull-Back Space
Even if your dining room looks spacious on paper, it won’t function well unless you budget real pull-back space for chairs. Plan chair clearance from the table edge to the nearest obstruction so guests can sit and stand without scraping walls or cabinetry. Aim for 24 inches minimum; 30 inches feels better for frequent hosting.
Mock it up before you build: tape the table footprint, then add chair depth (typically 18–20 inches) plus the pull-back zone. Adjust the seating arrangement—fewer chairs, slimmer chair profiles, or a narrower table—to protect comfort without expanding the room.
You’ll also reduce floor damage and repaint cycles, keeping maintenance costs down. If you’re adding built-ins, stop them short of the chair zone so doors and drawers won’t collide during use.
Walkway Width Guidelines
After you’ve protected chair pull-back space, lock in clear walkways so people can circulate without squeezing past seated guests or bumping furniture. Target 36 inches of walkway clearance for main paths from kitchen, hall, or patio doors; go to 42–48 inches if it’s a high-use route or you host often.
Along low-traffic sides, 30–32 inches can work, but only if nobody has to pass behind occupied chairs.
Map your traffic flow: draw the room to scale, mark doors, then trace the shortest routes people naturally take. Keep those lines straight—avoid table corners or buffets pinching the path.
If you’re tight, switch to slimmer chairs, a pedestal base, or a narrower sideboard to buy inches without moving walls.
Build a Dining Room Layout Around a Focal Point
If you anchor your dining room layout to a clear focal point—like a fireplace, a statement light fixture, or a large window—you’ll place the table and key sightlines with purpose instead of guessing.
Center the table on that focal point to create Visual harmony and a stronger first impression, which supports resale photos and buyer appeal.
Keep the main chair positions facing the focal point, then align a rug, sideboard, or art to reinforce it without crowding circulation.
If the focal point sits off-center, shift the table slightly and balance with a console or plant mass on the opposite side.
Measure wall clearances so chairs pull out cleanly, and keep serving paths direct to the kitchen for faster hosting and fewer bottlenecks.
Use Dining Room Lighting to Define the Zone
Because lighting reads as an invisible “boundary,” you can use it to clearly define the dining zone without building walls or sacrificing square footage. Center a pendant or chandelier over the table and size it to roughly one-half to two-thirds the table width, hanging 30–36 inches above the surface for comfortable sightlines. Put it on a dimmer so you can shift from task light for meals to softer ambient illumination for entertaining.
Layer in ceiling cans or a low-profile flush mount to keep circulation paths evenly lit, reducing shadows that make the room feel chopped up. Then add accent lighting—picture lights, a buffet lamp, or LED strips in a hutch—to pull attention back to the dining area and increase perceived value with minimal wiring.
Renovate Dining Room Color and Materials for Impact
Lock in a cohesive palette (wall color, trim, textiles, and wood tones) so the dining room reads intentional and boosts resale appeal. Then mix textures and finishes—matte paint, warm wood, metal accents, and a tactile rug—to add depth without adding clutter.
You’ll get a high-impact update that looks custom, photographs well, and holds up to daily use.
Choose A Cohesive Palette
Start with three anchors—wall color, floor tone, and a dominant wood/metal finish—and build everything else around them, because a tight palette makes the room feel intentional and protects your budget.
Pick a wall shade that complements your fixed elements, then commit: match undertones across paint, rugs, and window treatments for reliable Color harmony. Limit the scheme to 3–4 colors total, including one accent, so future swaps stay simple and low-cost.
Use a 60/30/10 split to control visual weight: 60% main color, 30% secondary, 10% accent.
For Mood setting, choose warm neutrals for cozy dinners, cooler neutrals for a crisp, modern vibe.
Test samples in daylight and evening light, and keep sheen consistent for a cleaner, higher-end read.
Mix Textures And Finishes
Once you’ve nailed a tight 3–4 color palette, you can make it feel richer without adding more hues by mixing textures and finishes. Aim for textural contrast: pair a matte painted wall with a lightly grained wood table, or add a woven rug under smooth chair legs to break up hard surfaces.
Use Finish layering to control glare and highlight focal points—keep big planes low-sheen, then bring in a few high-impact accents like brushed brass hardware, a glossy ceramic lamp base, or a lacquered tray. Balance warm and cool metals so the room reads intentional, not busy.
Prioritize durable, wipeable surfaces near traffic paths; they’ll look better longer and protect resale value.
Add Dining Room Storage Without Blocking Movement
Where can you squeeze in storage without turning your dining room into an obstacle course? Start by using vertical space: add a shallow wall-mounted sideboard (10–14 inches deep) so chairs still slide out cleanly. Install floating shelves above a buffet for glassware and serving pieces, keeping the bottom shelf at least 18 inches above the surface for easy access.
Choose multi-functional furniture that earns its footprint: a bench with hidden compartments for linens, placemats, and candles, or an extendable table with leaf storage built in. If you’re renovating, frame in a recessed niche between studs for bar tools or wine—zero encroachment, high perceived value.
Finish with uniform baskets or trays so you can reset fast and keep traffic paths clear daily.
Fix Common Dining Room Layout Mistakes Fast
Even if you can’t move walls, you can fix most dining room layout problems in an afternoon by correcting clearances and sightlines. Start with furniture placement: pull the table off the wall, center it under the light, and keep 36–42 inches for walkways.
Allow 24 inches per seated diner and at least 18 inches from chair back to a passage zone. If chairs hit a buffet, slide the buffet to a side wall or swap for a slimmer 16–18 inch–deep piece.
Align the rug so all chair legs stay on it when pulled out. For wall decor, hang a mirror or large art opposite the entry to lengthen the view, and keep frames above chair-rail height.
You’ll boost comfort, reduce scuffs, and make the room photograph better.
Frequently Asked Questions
How Much Does a Dining Room Renovation Typically Cost?
You’ll typically spend $3,000–$15,000, but test the theory that smarter Furniture placement and lighting enhancements beat pricey finishes. You’ll boost ROI by prioritizing layout tweaks, fixture upgrades, paint, and durable flooring.
Do I Need Permits to Remove a Dining Room Wall?
You’ll likely need permits to remove a dining room wall, especially if it’s load-bearing, affects electrical/plumbing, or changes egress. Check local Permit requirements, get engineering, and schedule inspections to protect resale value.
How Long Does a Dining Room Renovation Usually Take?
You’ll typically finish a dining room renovation in 1–3 weeks; simple updates take days, structural changes take longer. Furniture arrangement and lighting enhancements add 1–3 days but boost ROI through improved function, appeal.
What’s the Best Flooring for a Dining Room With Pets?
Choose luxury vinyl plank or porcelain tile; like Odysseus, you’ll outsmart claws and spills. You’ll get Pet friendly flooring with waterproof cores, textured wear layers, and Durable dining surfaces that boost resale and cut maintenance costs.
Should I Hire an Interior Designer or DIY the Renovation?
You should hire an interior designer if you’re changing layout or cabinetry; DIY if it’s paint, lighting, or decor. Use DIY tips for savings, but get professional advice to protect ROI and avoid errors.