

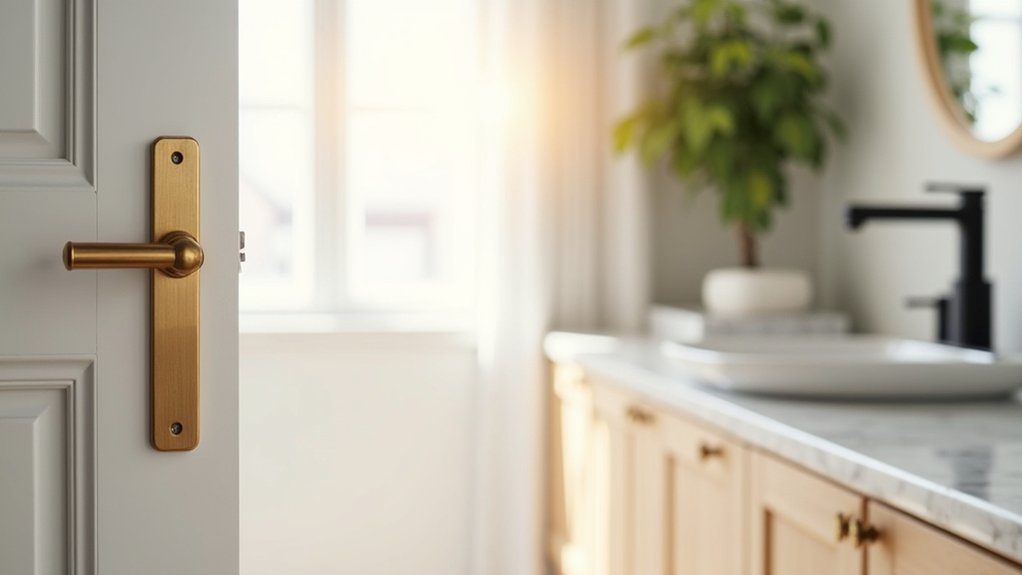
You can upgrade a room’s look and performance fast when you choose interior hardware with intent. Start by listing what you need—knobs, pulls, hinges, levers—and where each piece must work hard. Then align finish, style, and scale with your home’s architecture so everything feels planned, not patched together. The payoff is fewer replacements, smoother daily use, and a cleaner design story—but only if you avoid a few common traps…
Start With the Interior Hardware You Need
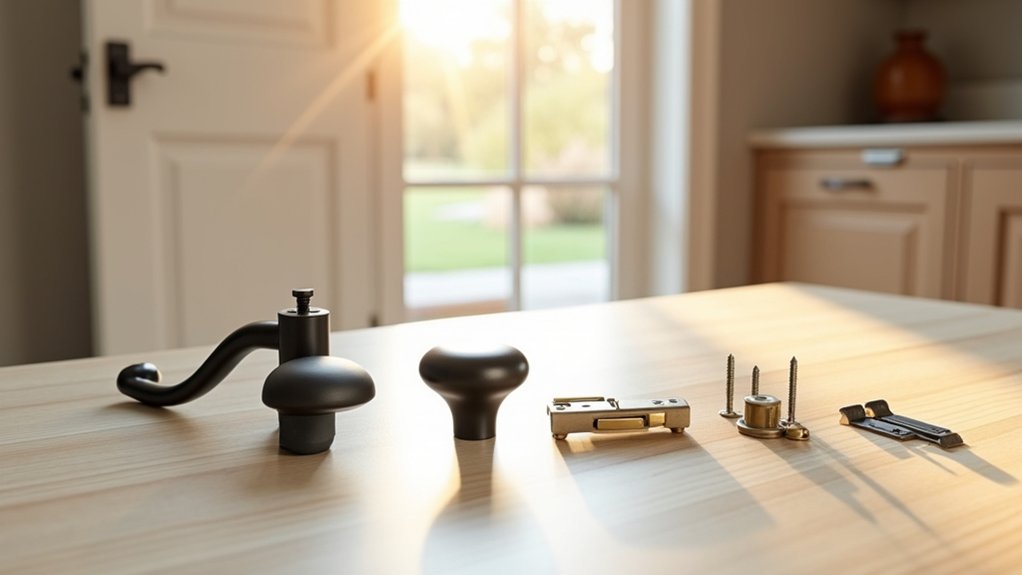
Before you compare finishes or chase a specific look, list the exact interior hardware you need for each door, drawer, and cabinet so you don’t waste money on the wrong quantities or sizes. Walk the room with a tape measure and spreadsheet: count hinges, knobs, cabinet pulls, latches, stops, and any specialty pieces.
Note door thickness, backset, bore size, and existing hole spacing so replacements drop in without patching or re-drilling. Identify high-use locations and prioritize better-grade mechanisms there, because fewer failures cut callbacks and replacement costs.
Confirm you’ve got matching screws and correct lengths to avoid split frames. If you’re planning plumbing updates, inventory faucet styles alongside cabinet hardware so you can coordinate timelines, shipping, and install labor.
Keep 5–10% extra for spares and future repairs.
Match Interior Hardware to Your Home’s Style
Match your interior hardware to your home’s style by first pinpointing its design era, so every knob, lever, and hinge looks intentional and boosts resale appeal.
Then coordinate finishes and textures across rooms—like brushed nickel with clean-lined cabinetry or oil-rubbed bronze with warmer wood tones—to avoid a piecemeal look that can cheapen the upgrade.
Finally, balance scale and details by matching hardware size and ornamentation to door thickness, trim profiles, and fixture weight, so everything feels proportionate and high-end.
Identify Your Design Era
Where does your home fall on the design timeline—Victorian, Craftsman, Mid-Century, or Contemporary? Pinning down the era keeps you from wasting money on hardware that looks “off,” forcing costly re-dos and hurting resale appeal.
Walk each room and note cues: ornate millwork and tall doors signal Victorian; built-ins, sturdy trim, and honest joinery point to Craftsman; clean lines and tapered legs suggest Mid-Century; large spans and minimal detailing read Contemporary.
Then choose shapes and profiles that echo those cues—lever geometry, knob silhouettes, backplate presence, and scale. Use vintage inspiration when your architecture carries decorative weight, and lean into modern minimalism when surfaces stay crisp and uninterrupted.
You’ll get cohesion faster and buy fewer replacements.
Coordinate Finishes And Textures
If you coordinate finishes and textures room-to-room, you’ll make your hardware look intentional and avoid pricey “almost right” swaps later.
Start by choosing one primary metal finish for high-visibility pieces (entry lever, kitchen pulls, main bath set), then assign one supporting finish for secondary rooms or built-ins.
Use color coordination: match warm metals with warm wood tones and creamy paints; pair cool metals with gray stains, crisp whites, and stone.
Treat sheen as a texture—polished reads brighter and modern, satin feels quieter, and oil-rubbed hides fingerprints, cutting maintenance time.
Tie it together with decorative accents like mirror frames, lighting canopies, or faucet trim so the hardware feels planned, not random.
Keep a small sample board to test under your actual lighting.
Balance Scale And Details
How do you keep new knobs, pulls, and levers from looking undersized—or overpowering—once they’re installed? Start by scaling hardware to the surface: longer pulls suit wide drawers, while compact knobs fit narrow doors. Use a quick rule: pulls should span about one-third the drawer width, then test with painter’s tape templates before you buy.
Next, balance details with your home’s style. If your cabinetry has Shaker lines, choose simple profiles and let subtle decorative accents (like a soft edge or stepped base) add polish without visual noise. For ornate millwork, pick hardware with matching relief, but keep finishes consistent so it doesn’t look busy.
Finally, prioritize ergonomic comfort: verify grip clearance, finger room, and lever reach to avoid costly replacements.
Choose an Interior Hardware Finish That Works
Choose a finish that matches your home’s palette so your hardware looks intentional and protects resale value. Tie metal tones to your dominant paint, flooring, and lighting colors. Then, use a contrasting accent only when it repeats elsewhere.
Balance sheen and texture—mix matte with brushed or satin surfaces to hide fingerprints and wear while keeping the space visually consistent.
Match Finish To Palette
Where does your eye land first—the hardware or the room’s palette? If the finish fights your dominant tones, the whole space feels “off,” and you’ll pay for rework later. Start with your fixed surfaces: flooring, countertop, tile, and paint. Then use color pairing to either echo them (warm brass with creamy whites and oak; cool chrome with crisp grays and marble) or provide controlled contrast (black pulls focus in light kitchens).
Next, plan Lighting integration. Hardware reads differently under daylight, warm LEDs, and mixed fixtures, so test samples where they’ll live—at the door, on the vanity, beside the range. Match the finish family across adjacent rooms to protect resale appeal, simplify replacements, and keep your budget predictable.
Balance Sheen And Texture
Even if you’ve nailed the color match, the wrong sheen can make a premium finish look cheap and keep you replacing pieces. Use sheen to control glare, fingerprints, and perceived quality.
In high-traffic zones, choose satin, brushed, or matte to hide wear and cut cleaning time. Save polished finishes for low-touch areas where you want sparkle and easy wipe-downs.
Balance texture across the room so nothing fights: pair smooth levers with knurled pulls, or mix one textured element per sightline.
Check how finishes read under your lighting fixtures—warm LEDs soften brass; cool light can make chrome feel harsh. Match the “shine level” of hardware to nearby decorative accents (frames, faucets) to avoid costly do-overs and keep resale appeal.
How Do You Mix Metals Without It Looking Messy?
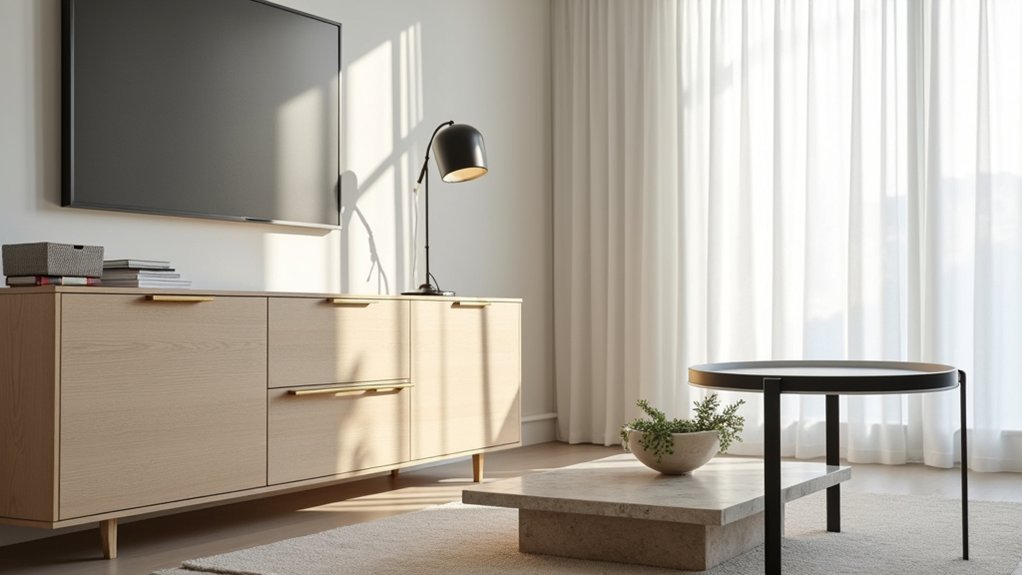
Although mixing metal finishes can add depth and polish, it only works when you set a clear hierarchy: pick one dominant metal for the majority of your hardware, support it with a secondary finish in smaller doses, and use a third only as a controlled accent.
Start with what’s already fixed—appliances, plumbing, lighting—and let that anchor your dominant choice. Then plan your metal pairing by repeating each finish at least twice so it reads intentional, not random.
Keep undertones aligned: warm metals (brass, bronze) play well together; cool metals (chrome, nickel) do the same.
For finish coordination, match the “feel,” not the exact color—brushed with brushed, polished with polished—so reflections don’t clash.
Limit specialty finishes to one zone to protect resale appeal.
Get Interior Hardware Scale and Placement Right
Once you’ve set your finish hierarchy, scale and placement determine whether the hardware looks premium or like an afterthought.
Match handle length to door and drawer width: use 3–5 inches on small drawers, 6–10 inches on standard bases, and 12 inches or more on wide pans.
For tall cabinet doors, place pulls 2–3 inches from the bottom or top edge, aligned across the run for a clean sightline.
Keep knobs centered on drawer fronts; for doors, set them near the opening edge for leverage.
During hardware installation, use a jig and consistent reveal marks to avoid costly re-drilling.
With budget considerations, standardize sizes and hole spacing to reduce labor and future replacement time.
Pick Interior Hardware Materials That Last
If you want hardware that still looks sharp after years of daily use, start by choosing materials that resist wear, corrosion, and finish breakdown. Prioritize solid brass, stainless steel, or bronze for high-touch doors and drawers; these options deliver proven metal durability and won’t pit or peel like softer alloys.
Match material to location and use. In kitchens and baths, pick stainless or brass with PVD or lacquered finishes to handle moisture and cleaners.
For rental or heavy-traffic projects, consider commercial-grade lever sets and hinges rated for higher cycle counts, so you replace less often.
Plan material maintenance upfront: choose finishes that tolerate your cleaning routine, keep abrasive sprays off coated metals, and wipe hardware dry to prevent spotting and tarnish.
Interior Hardware Mistakes That Cheapen a Room
Because interior hardware sits at eye level and gets handled every day, a few common missteps can instantly make an otherwise well-finished room feel cheap—and cost you later in touch-ups and replacements.
Don’t mix too many finishes across one sightline; it reads like leftovers. Avoid ultra-light hollow pulls and loose hinges—wobble signals “budget,” and you’ll pay again in labor. Skip bargain plated finishes in wet zones; they pit, peel, and force premature swaps.
Watch scale: undersized knobs on tall doors look like afterthoughts, while oversized pulls can feel clunky. Don’t chase the most viral shape if your home’s style won’t support it; trendy versus timeless matters for resale.
Finally, prioritize luxury versus budget strategically: spend on high-touch doors and drawers, save on low-use closets.
Frequently Asked Questions
How Much Should I Budget for Quality Interior Hardware Upgrades?
Budget $200–$800 per room for quality interior hardware, or 1–2% of remodel costs. Do a Cost comparison by piece. Prioritize Material durability finishes; you’ll replace less, boost resale, and reduce callbacks.
Can I Reuse Existing Screw Holes When Replacing Hardware?
Yes, you can reuse existing holes if your screw hole assessment confirms alignment and solid grip. Use careful hardware removal techniques to avoid stripping. If holes are enlarged, plug and re-drill for durable, high-ROI results.
What Tools Do I Need to Install Interior Hardware Myself?
You’ll need a screwdriver set, drill/driver, bits, measuring tape, level, pencil, and a stud finder for hardware installation. Add an awl, clamps, and safety glasses as tool essentials to avoid costly rework.
Are There Ada-Compliant Hardware Options That Still Look High-End?
Yes—you can choose ADA-compliant levers and pulls that still feel premium. You’ll get luxury finishes and modern designs by selecting quality brands, 5-lb force levers, 1.5-inch clearance, and durable PVD coatings.
How Do I Clean and Maintain Hardware Without Damaging the Finish?
Use a soft microfiber cloth with mild soap and water, then dry immediately. Avoid abrasives, ammonia, and bleach. Follow these Cleaning techniques and Maintenance tips: tighten screws, wipe weekly, and spot-clean fast. You’ll preserve value.