

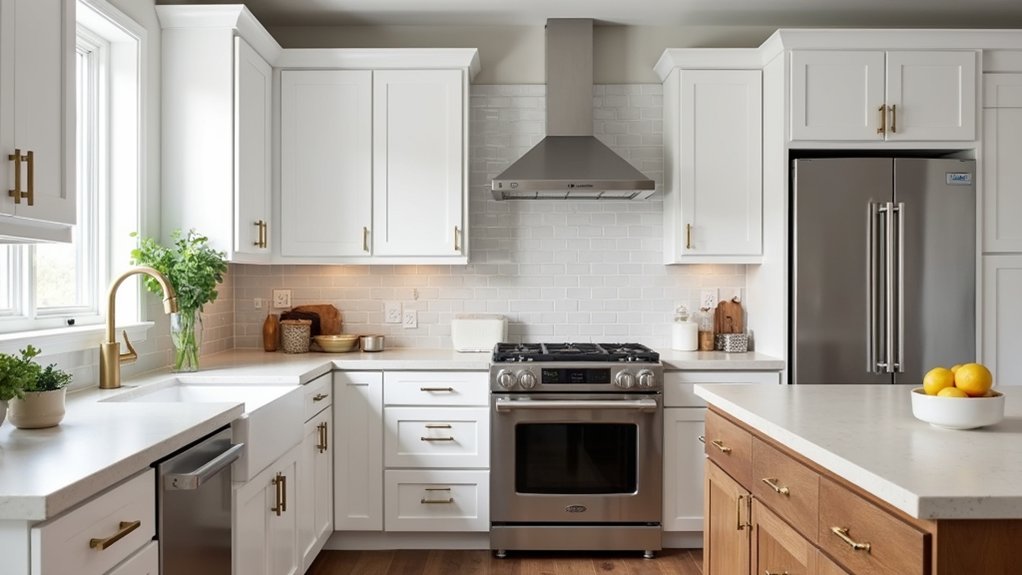
Your kitchen can feel like a backpack stuffed past the zipper—usable, but always fighting you. You don’t need a full remodel to get a real payoff; you need targeted fixes that cut daily friction and make the space easier to run. Start by mapping what slows you down, then upgrade storage with pull-outs, dividers, and vertical organizers, and refresh finishes with durable paint, hardware, and lighting. The best wins often come from one overlooked spot…
Refresh Your Kitchen by Fixing Daily Pain Points
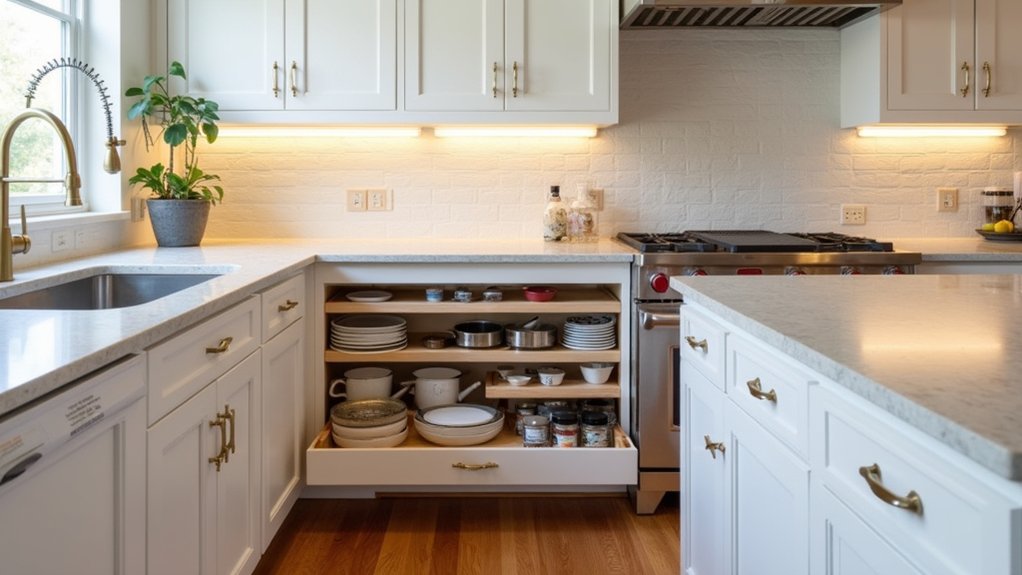
If your kitchen feels “fine” but still wastes your time every day, start your refresh by targeting the friction points you hit most—cluttered prep space, awkward cabinet reach, and never-enough storage. Map your top three tasks (coffee, lunch, dinner) and time them for a week; that baseline shows your ROI.
Fix flow with appliance placement: move the microwave off the counter, park the toaster near an outlet by the prep zone, and keep the trash within one step of the main cutting area.
Upgrade lighting solutions where mistakes happen—under-cabinet LEDs over prep, a brighter bulb over the sink, and a dimmable ceiling fixture for cleanup. These small moves cut steps, reduce countertop pileups, and make the kitchen feel new without a full remodel.
Add Smarter Kitchen Storage With Pull-Outs
When you replace dead-corner cabinets and deep shelves with pull-outs, you turn wasted cubic inches into fast, predictable access. You’ll cut search time, reduce duplicate purchases, and protect cookware from scratches caused by stacking.
Match pull-out types to your kitchen layout: install full-extension trays for pots near the range, a narrow spice pull-out beside the cooktop, and a tall pantry pull-out close to prep zones. Use heavy-duty, soft-close slides rated 75–100 lbs so shelves don’t sag and upgrades last.
Add toe-kick drawers for sheet pans or pet bowls without changing cabinet faces. Prioritize retrofittable units first; they deliver immediate storage efficiency without a full remodel, and you’ll feel the payoff every meal prep.
Tame Drawers Fast With Dividers and Organizers
Start by right-sizing drawer dividers to your drawer dimensions and the tools you actually use, so every inch earns its keep.
Then zone organizers by task—prep, cooking, baking, or coffee—so you grab what you need in one motion and cut wasted steps.
You’ll reduce clutter, speed up routines, and protect your gear with a low-cost upgrade you’ll notice every day.
Right-Size Drawer Dividers
Although a junky drawer feels like a small problem, right-size dividers fix it fast—and they pay you back every day in saved time and fewer duplicate purchases. Measure the drawer’s inside width, depth, and height, then choose dividers that fit without bowing or sliding.
For drawer organization that sticks, match compartments to your most-used tools: wide bays for spatulas, narrow slots for peelers, and a deep section for a can opener.
Prioritize divider materials that handle kitchen abuse: bamboo resists moisture, ABS plastic wipes clean, and metal rails won’t warp under heat.
Pick adjustable systems for evolving needs, but skip “one-size” trays that waste cubic inches.
Add non-slip feet or tension ends so nothing drifts when you slam shut.
Zone Organizers By Task
Even if your dividers fit perfectly, you’ll still waste time if tools land wherever there’s space, so assign each drawer a job and organize it by task. Put prep tools (peeler, microplane, measuring spoons) near the cutting board; keep cooking tools (tongs, spatulas, thermometer) by the stove; reserve one “serve” drawer for ladles, trivets, and napkin rings.
Use modular trays for utensil sorting: one lane per tool type, plus a small bin for odd shapes. Add a shallow top insert for frequently used items so you don’t dig. Label the drawer edge inside the cabinet for fast resets.
Match the same logic to pantry organization—snacks, baking, and breakfast zones—so shopping, cooking, and cleanup run faster with fewer duplicates.
Use Vertical Space for Smarter Kitchen Storage
When you build upward instead of outward, you access storage you’ve already paid for and reduce countertop clutter without expanding your kitchen’s footprint. Start with vertical organization: add under-shelf baskets, stackable risers, and a rail system for utensils and spices so you free a full drawer and reclaim prep space.
Move rarely used items into ceiling storage with high cabinets, an over-fridge cubby, or a ceiling-mounted pot rack if your layout allows it. Install adjustable shelves to eliminate wasted headroom, and use labeled bins up top so you don’t buy duplicates.
Add a narrow wall-mounted pantry or pegboard beside the fridge for oils, wraps, and sheet pans. These upgrades cost little, install fast, and cut time spent searching, restocking, and cleaning.
Upgrade Finishes That Refresh a Tired Kitchen Fast
You can refresh a tired kitchen fast by swapping cabinet hardware and key fixtures like the faucet and pendant lights—small line items that visually modernize the space and typically cost far less than new cabinets.
Then use paint finishes strategically: cabinet enamel for durability, washable satin or eggshell on walls, and a clean semi-gloss on trim to bounce light and hide wear.
These quick upgrades deliver a high-impact before-and-after that helps protect resale value without a full remodel.
Swap Hardware And Fixtures
If the cabinets and countertops still hold up, swapping hardware and fixtures delivers one of the fastest, highest-ROI kitchen refreshes you can make.
Start with hardware upgrades: choose a consistent finish (brushed nickel, matte black, champagne bronze) and match pulls to door scale—5–7 inches for most drawers, knobs for uppers. Reuse existing holes when possible to avoid filler and labor; if you must re-drill, use a jig for perfect alignment.
Next, prioritize fixture replacements that improve daily use: install a high-arc faucet with a pull-down sprayer, ceramic cartridge, and 1.8 gpm or less. Replace a worn soap dispenser or filtered-water tap for a cohesive set.
You’ll modernize the look, reduce leaks, and lift appraisal appeal fast.
Refresh With Paint Finishes
Although a full remodel grabs attention, strategic paint finishes deliver a quicker, lower-cost lift with strong ROI—especially on cabinets, trim, and walls that read “dated” first.
Start by degreasing, sanding, and priming to protect your time investment and reduce callbacks later.
Choose a cabinet-grade enamel in satin or semi-gloss for better wipeability; Finish durability matters more than trendy color.
Use Color psychology to steer value: warm whites and light greiges broaden appeal, while muted blues/greens signal cleanliness and calm without shrinking the room.
On walls, pick washable eggshell; on trim, semi-gloss sharpens lines and looks “new” under task lighting.
Upgrade with a sprayed or rolled microfiber finish to avoid brush marks and boost perceived quality.
Pick Durable Countertop and Backsplash Finishes That Last
Because countertops and backsplashes take the daily hit from heat, spills, knives, and constant wiping, choosing durable finishes upfront protects your budget and prevents premature replacements.
Prioritize quartz or sintered stone for counters; they resist staining, don’t need sealing, and keep resale appeal with low maintenance. If you prefer eco-friendly materials, consider recycled-glass composite or responsibly sourced porcelain, then confirm scratch and heat ratings before you buy.
For backsplashes, skip soft, craze-prone tiles and choose porcelain, ceramic with hard glaze, or stainless panels for easy wipe-downs. Use epoxy grout to cut staining and future regrouting costs.
Add textured surfaces in small doses—like a matte, slip-resistant tile strip—so you get depth without trapping grease. Seal natural stone only if you’ll reapply on schedule.
Frequently Asked Questions
How Much Does a Small Kitchen Refresh Typically Cost?
You’ll typically spend $2,000–$12,000 on a small kitchen refresh, depending on scope. You should prioritize Budget planning and smart Material selection to maximize ROI by targeting paint, lighting, hardware, countertops, and fixture upgrades.
Do I Need Permits for New Cabinets, Countertops, or Backsplash Work?
You usually don’t need permits for cabinets, countertops, or backsplash, unless you alter plumbing, electrical, or walls. Check local building codes and zoning laws first—avoiding fines and delays protects ROI and resale.
How Long Does a Kitchen Refresh Usually Take From Start to Finish?
You’ll finish a kitchen refresh in 2–8 weeks—unless you worship backorders. You schedule demos, cabinet installs, countertops, backsplash, Appliance upgrades, and Creative lighting; you trim downtime, protect budget, and boost resale ROI fast.
Which Updates Add the Most Resale Value in a Tired Kitchen?
You’ll add the most resale value by updating cabinet fronts and hardware, installing durable countertops, and modern lighting. Add Smart storage solutions and Eco friendly upgrades like efficient fixtures and low-VOC finishes—they boost appeal.
Can I Refresh a Kitchen Effectively Without Replacing Appliances?
Yes—you can refresh a kitchen effectively without replacing appliances. You’ll boost ROI with an Appliance upgrade via panels or matching finishes, avoid Structural modifications, and focus on paint, hardware, lighting, countertops, and deep cleaning.