

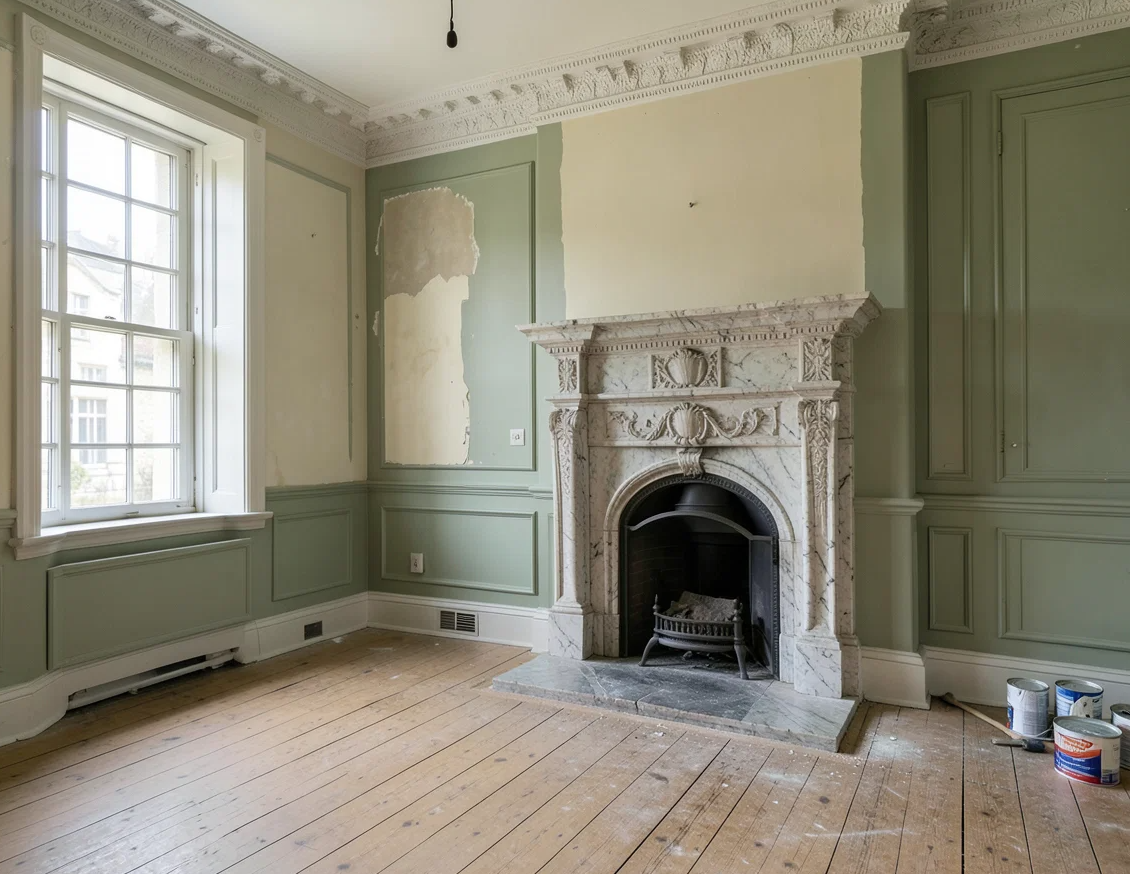
You can’t renovate a British Georgian fireplace safely until you know exactly what you’re working with. You start by surveying the opening, surround, and hearth, then you check for cracks, damp, loose brickwork, and any signs the structure has been altered. Next, you confirm the flue’s condition and whether ventilation meets today’s rules before you decide what can stay and what must go. The critical measurements and clearances come next—and they often change your plan.
Survey the Georgian Fireplace and Opening
Before you plan any repairs, survey the Georgian fireplace and its opening so you know exactly what you’re working with. Clear the hearth, remove loose ash, and photograph every face: mantel, surround, firebox, and hearth slab.
Measure the opening height, width, and depth, plus the hearth projection and overall chimney-breast width.
Note materials—marble, stone, brick, or cast iron—and record any past alterations like modern tiles, filler, or blocked vents.
Check the alignment of the jambs and lintel, and confirm the fireback sits square.
Trace the flue route as far as you can see with a torch, and mark existing vents and cleanout access.
Sketch a simple plan with dimensions for sourcing parts and planning upgrades.
Spot Red Flags and Decide if You Need a Pro
Once you’ve measured and photographed everything, scan for red flags that turn a “DIY tidy-up” into a safety job: crumbling brickwork, a sagging or cracked lintel, loose firebacks, damp staining or salt deposits, a blocked or narrowed flue, missing ventilation, or any sign of chimney movement such as stepped cracks in the breast.
If you spot any of these, stop poking and don’t widen the opening or remove plaster until it’s assessed. Get a builder or fireplace specialist for structural defects, and a heritage mason if the surround or hearth is original and fragile.
Call a surveyor if cracks look fresh, grow, or run through adjacent walls. When in doubt, prioritise safety over saving time; you’re dealing with loads, heat, and old materials.
Check the Chimney, Flue, and Ventilation Rules
Where does most Georgian fireplace trouble hide? Up the chimney. Before you touch anything else, check that the stack is sound, the pot’s secure, and the flaunching hasn’t cracked.
Get the chimney swept, then ask for a smoke test to spot leaks, failed joints, or hidden voids.
Inspect the flue for an appropriate liner, correct diameter, and continuous run to the terminal; a damaged or oversized flue can spill fumes and kill draft.
Confirm ventilation rules for your appliance type: you may need fixed air vents, especially in sealed rooms or when adding extractors nearby.
Check local Building Regulations compliance and plan for a carbon monoxide alarm placement.
Document everything for sign-off.
Decide What to Restore vs Replace (Surround, Cast, Brick)
Although it’s tempting to rip everything out and start fresh, you’ll get a better result by deciding—piece by piece—what’s worth restoring and what genuinely needs replacing: the surround (often timber or stone), the cast-iron insert and grate, and the brickwork in the opening and hearth.
Start with the surround: keep it if it’s structurally sound, square, and only has cosmetic damage; replace it if it’s rotten, cracked through, or badly altered.
For cast iron, restore when it’s complete, fits the opening, and shows only surface rust; replace when it’s warped, fractured, or missing key parts.
Inspect bricks for spalling, loose joints, or heat damage. You can retain stable masonry; rebuild sections that move or crumble.
Photograph, label, and measure everything before dismantling.
Use Breathable, Period-Correct Georgian Fireplace Materials
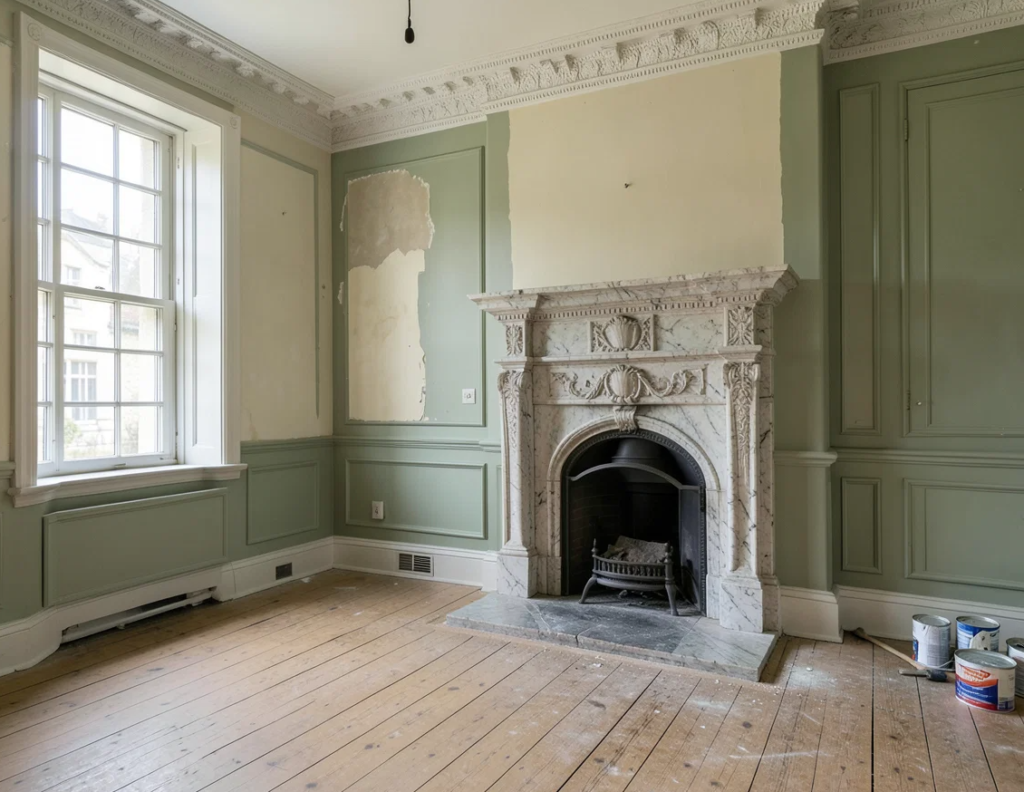
After you’ve decided what you’re keeping and what you’re replacing, choose materials that let the fireplace breathe and suit Georgian construction. Stick with lime-based mortars and plasters rather than hard cement, so moisture can move and salts won’t spall old brick.
If you need pointing, match the original joint profile and aggregate; take a small sample to a specialist for a close mix.
For masonry, favour reclaimed handmade bricks and local stone that match size, porosity, and colour. Use cast iron for appropriate inserts and register plates, and choose slate or stone finishes that reflect Georgian proportions.
When you add sealants, paints, or fillers, pick vapour-permeable products and avoid acrylics. You’ll protect historic fabric and reduce damp-related cracking.
Rebuild the Firebox, Hearth, and Back Panel Safely
Once you’ve exposed sound masonry and confirmed the opening’s dimensions, rebuild the firebox, hearth, and back panel to modern safety standards without forcing the old structure out of line.
Lay new firebrick on edge with refractory mortar, keeping joints tight and fully buttered so flames can’t reach voids.
If the side walls have slumped, correct them gradually with shims and fresh bedding, not brute force.
Form the firebox floor with brick or a castable refractory base that drains ash forward for easy cleaning.
Rebuild the hearth on a stable, non-combustible substrate, bonding it with lime-based mortar where it meets historic masonry.
Fit a new back panel or gather brickwork so smoke flows cleanly, and seal gaps to prevent soot leakage.
Allow adequate curing before first firing cycle slowly.
Set Lintel Height, Clearances, and Heat Protection
Before you fix the surround in place, set the lintel height and all clearances so the opening draws properly and nearby timber doesn’t overheat. Measure the intended appliance or open fire opening, then position a non-combustible lintel level and square, with solid bearing at both ends.
Keep the opening proportionate: too low chokes the throat, too high can spill smoke.
Maintain required separations to combustibles: check joists, studs, and skirtings, and don’t rely on old plaster as protection. Add heat shielding where space is tight: calcium silicate board or fire-rated board on non-combustible spacers to create an air gap, with edges sealed.
Protect the surround with a slip layer and expansion gap so stonework won’t crack. Recheck dimensions before fixing anything.
Install Liner, Register Plate, Cowl, Then Test and Certify
When you’ve confirmed the opening size, lintel height, and clearances, fit the flue liner and lock in a safe, controllable route for smoke and heat. Drop a stainless liner from the pot, attach a nose cone, and insulate where specified to limit tar and improve draw. Connect the liner to your appliance spigot or gather with the correct adaptor and sealed joints.
Next, install a non-combustible register plate, seal its perimeter, and include an access hatch for sweeping.
At the top, fit a rain cowl or anti-downdraught terminal that suits the fuel type and liner diameter, then clamp and weatherproof it.
Finally, smoke-test, check draw, verify CO alarm siting, and get HETAS/Gas Safe certification and documentation for building control and insurers.
Conclusion
You’ve now taken your Georgian fireplace from tired and risky to authentic, efficient, and compliant. By surveying the opening, spotting structural red flags, and checking the chimney, flue, and ventilation, you’ve built safety into every choice. Restoring what you can and replacing what you must keeps the character intact. Using breathable, period‑correct materials protects the masonry. Once the firebox, hearth, liner, and cowl are installed, testing and certification let you use it with confidence.