

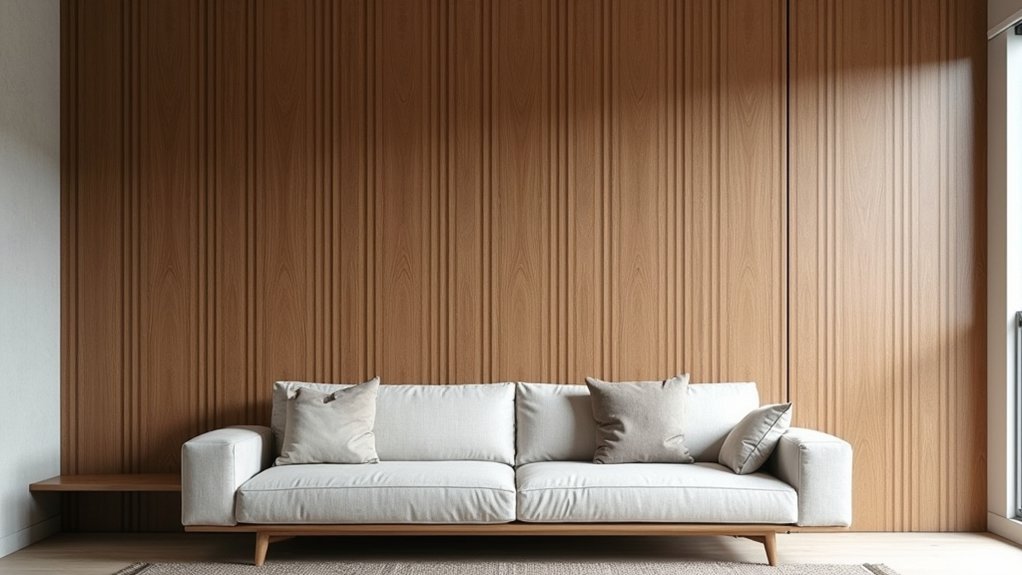
Like classic wainscoting in old townhouses, wall panelling lets you add depth without major renovation. You can choose beadboard, shiplap, or simple board-and-batten to match your space and budget, then place it where it earns its keep—an accent wall, a hallway, or behind the bed. With smart layout, careful prep, and paint-grade materials, you’ll get a built-in look for less—if you avoid one common mistake first.
Pick the Right Wall Panelling Style
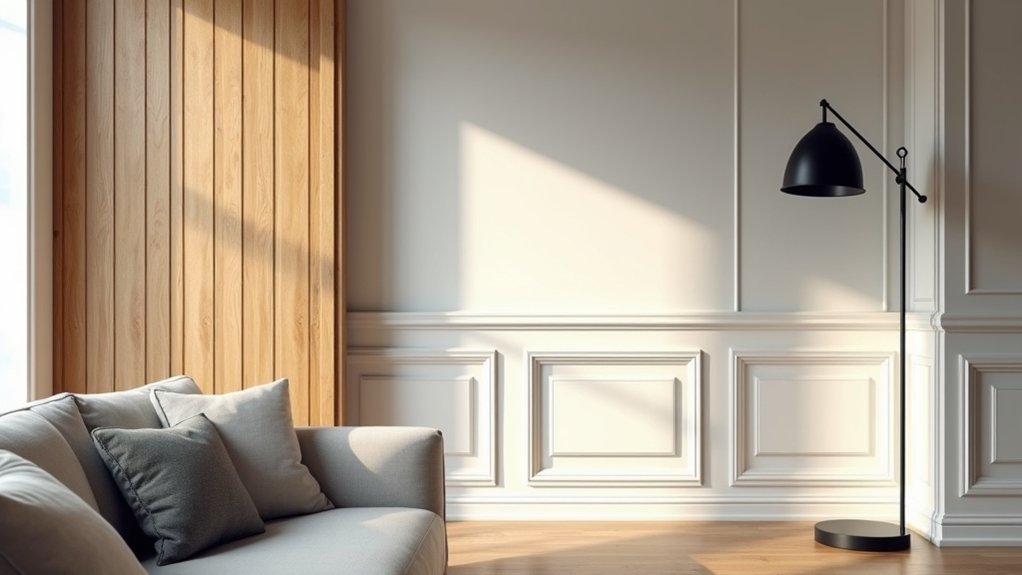
Before you buy a single panel, match the panelling style to your room’s function, budget, and existing architecture so it looks intentional—not like an afterthought.
If you need durability, choose MDF or PVC in a simple profile; you’ll get clean lines without premium timber pricing.
For older homes, you can echo existing trim with beadboard or raised panels, then keep paint colors consistent to stretch impact.
Prefer modern? Go with slim slats or flat shiplap for easy installation and fewer cuts.
Treat panelling as Decorative accents, not a full rebuild: cap it with an off-the-shelf chair rail or minimal ledge.
Compare Pattern options by calculating waste—busy grids cost more in time and offcuts.
Always price adhesives, filler, and paint upfront.
Decide Where Wall Panelling Will Make Impact
Although you could panel every wall, you’ll get the best return by placing it where it fixes a problem or draws the eye. Start with the wall you face when you enter; that’s prime real estate for instant depth. Use panelling to straighten out awkward proportions, like a long hallway that feels bland or a tall room that feels empty.
If your space has dings, uneven drywall, or too many patch jobs, panelling hides them cheaper than full resurfacing. Anchor key furniture zones—behind a sofa, bed, or dining banquette—so the room feels intentional without buying new pieces.
Add Decorative moldings around doors or windows to make builder-basic trim look finished. Treat these upgrades as Architectural accents that guide attention, not busywork everywhere.
Choose Wall Panelling Height and Layout
Once you’ve picked the wall, choose a panel height that fits the room’s scale and your budget—wainscot levels can add impact without full-height costs.
Map the layout with simple measurements so rails, stiles, and spacing stay consistent and look intentional.
Check proportions against key features like windows, outlets, and furniture so you don’t waste material on awkward cuts or misaligned lines.
Selecting Ideal Panel Height
If you choose the right panel height, you’ll make the room look more balanced without spending extra on materials. Start by measuring your ceiling height and noting key features like windowsills, radiators, and existing trim, since these set natural stopping points.
For most spaces, wainscoting around 900–1200mm gives solid protection and a classic look, while taller panelling can add drama but costs more in boards and paint. Use panel height considerations to decide what you’ll gain: durability in busy areas, or a stronger focal line in calm rooms.
Keep visual balance in mind—match heights across connected spaces and align with door casings where possible. When in doubt, choose the lower option to save and stay flexible later.
Mapping Layout And Proportions
Before you buy a single board, map your panelling layout and proportions on the actual wall so you don’t waste materials fixing awkward spacing later. Mark your finished height with painter’s tape, then sketch your stiles and rails directly on the surface in pencil.
Keep each panel width consistent and let the end panels “die” evenly into corners so cuts don’t look cramped. Check wall proportion by stepping back and viewing from the doorway; if the top band feels too heavy, drop the height or widen the panels.
Work around outlets and switches early, shifting panel lines to avoid tiny infill pieces. Use a spirit level and measure twice; small layout errors compound fast.
Aim for spatial harmony, not maximum panels.
Select Materials for Wall Panelling on Budget
Although wall panelling can look high-end, you don’t need premium timber to get a polished finish—start by choosing a material that matches your budget, your room’s wear-and-tear, and how much DIY work you’re willing to do.
For the lowest cost, MDF strips or sheets give clean lines and paint well, making them ideal for DIY installation. If moisture’s a concern, use moisture-resistant MDF or PVC panels in bathrooms and utility rooms.
Plywood adds subtle grain for less than hardwood and still feels warm in living spaces.
For a quick refresh, consider peel-and-stick moulding or lightweight wall panels as affordable alternatives, but check adhesion and durability.
Shop standard lengths, compare per-metre pricing, and buy a little extra for offcuts and mistakes.
Prep Walls for a Crisp, Built-In Finish
Before you install wall panelling, patch holes and dents, then sand everything smooth so the boards sit flat and seams disappear.
You’ll save time and trim costs later because you won’t be fighting bumps, gaps, or uneven reveals.
Finish with a quality primer so adhesive and paint grab evenly for a crisp, built-in look.
Patch And Sand Imperfections
Once you’ve pulled off the old trim or marked out your panelling layout, take a few minutes to patch dents, nail holes, and small cracks so the wall reads as one flat plane. Use lightweight spackle for shallow dings, and a setting-type compound for wider gaps that need strength.
If you’ve got chipped edges from moulding repair, feather the compound past the damage so it disappears under the panel lines.
Let it dry fully, then sand with 120–150 grit on a sanding block for controlled surface smoothing. Run a work light across the wall to spot ridges you’d miss head-on.
Vacuum dust, wipe with a damp microfiber cloth, and re-check with your hand; if you feel bumps now, you’ll see them later.
Prime For Even Adhesion
With the wall patched, sanded, and dust-free, lock in that smooth work with a primer coat so your adhesive and paint grip evenly. Good Surface preparation prevents panel edges from lifting and stops old stains or joint compound from flashing through your finish.
Choose a budget-friendly, stain-blocking primer for mixed surfaces; it saves you from extra paint coats later.
For primer application, cut in corners first, then roll in small sections to keep a wet edge. Use a 3/8-inch nap roller on smooth drywall, or 1/2-inch if the wall has light texture. Don’t flood the wall; a thin, even coat bonds better and dries faster.
Let it cure fully per the can, then lightly scuff-sand and wipe dust before installing panelling.
Install Wall Panelling: Tools and Key Steps
Although wall panelling looks like a high-end upgrade, you can install it yourself with a small set of tools and a clear plan. Gather a tape measure, level, stud finder, pencil, utility knife or saw, adhesive, brad nailer or hammer and finish nails, plus safety glasses.
Choose a layout that matches current style trends, then mark a level reference line and locate studs so you don’t waste fasteners.
Dry-fit panels, label cuts, and pre-cut openings for outlets.
Apply adhesive in consistent beads, press panels into place, and tack them along studs to lock alignment.
Check plumb as you go, using spacers for even gaps.
Wipe squeeze-out immediately to simplify paneling maintenance later and avoid costly rework.
Finish Wall Panelling With Paint, Trim, and Caulk
Before you call the job done, spend a little time on paint, trim, and caulk—the low-cost steps that make DIY wall panelling look custom. Start by filling nail holes, then run paintable caulk along every seam where panels meet the wall, baseboard, or ceiling. Smooth it with a damp finger for crisp lines and fewer shadow gaps.
Next, add Decorative molding where it boosts depth: cap rails, vertical battens, or a simple picture-frame trim. Choose MDF for value and easy cutting. Prime everything, especially raw edges, so your topcoat levels out.
For Color coordination, match the panelling to existing trim for a seamless look, or go one shade darker for contrast without repainting the whole room. Finish with two durable coats.
Frequently Asked Questions
Does Wall Panelling Reduce Room Echo or Improve Acoustic Comfort?
Yes, wall panelling can reduce echo and improve acoustic comfort—bare rooms can boost reverberation up to 50%. You’ll get better Acoustic insulation and Sound absorption with felt-backed or slatted panels, delivering value without major renovation costs.
Can Wall Panelling Hide Damp Issues, or Will It Worsen Moisture Problems?
Wall panelling can hide damp briefly, but you’ll worsen moisture problems if you don’t fix the source. You should budget for moisture barriers, ventilation, and mold prevention steps; otherwise you’ll pay more for repairs.
How Do I Clean Wall Panelling Without Damaging Paint or Finish?
Like washing a delicate sweater, you’ll clean panelling gently: dust first, then wipe with warm water and mild soap. Use microfiber, avoid soaking seams. These cleaning methods support paint preservation, saving you costly touch-ups.
Is Wall Panelling Safe Around Radiators, Fireplaces, and Other Heat Sources?
Yes, wall panelling’s usually safe near heat sources if you keep clearances, use heat-rated adhesives, and avoid direct contact. Choose Decorative paneling or Acoustic panels with fire ratings, add heat shields, and check manufacturer specs.
Will Wall Panelling Affect Resale Value or Appeal to Future Buyers?
Wall panelling can boost resale if you choose timeless styles and keep it neutral. You’ll protect value with solid wall paneling installation and proven material durability, avoiding trendy looks, costly repairs, and buyer turnoffs later.