

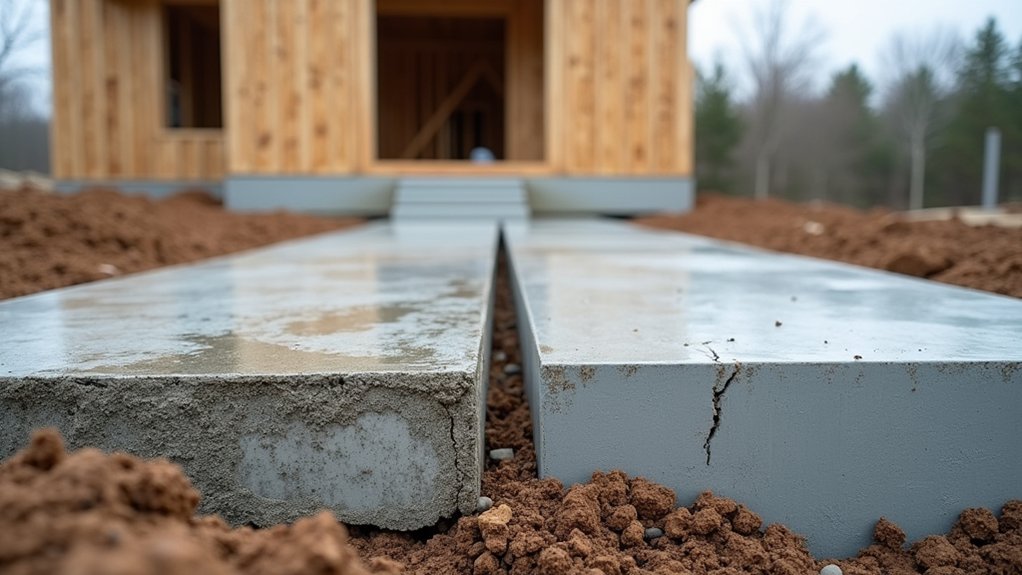
When you choose a foundation, you’re locking in how loads move into the soil, how moisture is managed, and how much differential settlement you can tolerate. You can’t guess—soil bearing capacity, groundwater level, frost depth, and seismic or wind loads set the constraints. If you match slab, crawl space, basement, or deep piers to those conditions, you cut cracking and long-term deterioration. Miss the fit, and the first symptoms show up sooner than you expect…
How to Choose a Home Foundation Type by Site
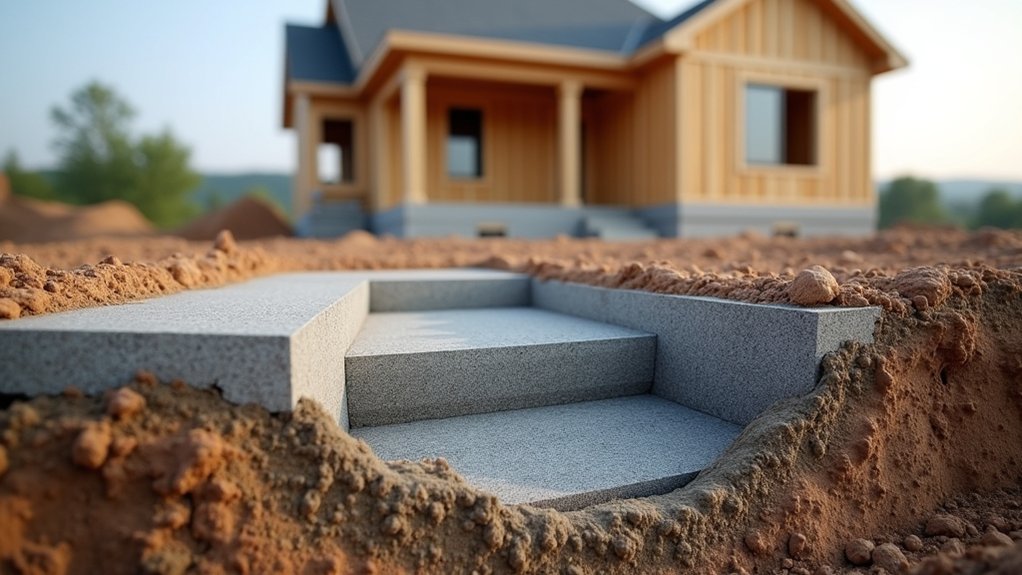
Because the site drives both structural performance and long-term maintenance risk, you should choose a foundation type by matching soil behavior, groundwater conditions, frost depth, slope stability, and seismic or wind loads to the system’s load path and moisture management strategy.
Start with Site preparation: verify bearing capacity, drainage paths, and expansive or liquefiable strata using a geotechnical report. If soils drain well and loads are moderate, you can use shallow footings.
If groundwater is high, you’ll prioritize capillary breaks, perimeter drains, and elevated assemblies. On slopes or weak layers, you should transfer loads to competent strata with deep elements and tie them into lateral bracing.
Select Foundation materials for durability in that exposure: sulfate-resistant concrete, corrosion-protected steel, and treated wood where codes permit.
Detail insulation and vapor control to local climate.
Slab Foundation: Lifespan, Cracks, and Repairs
While a slab-on-grade can last 50–100+ years when it’s engineered for the site and kept dry, its real durability hinges on how well it controls moisture and soil movement. You’ll get the longest service life when the subgrade is properly compacted, drainage directs water away, and reinforcement matches loads and shrinkage demands.
You should monitor cracks early. Hairline shrinkage cracks are common and often nonstructural, but widening, offset, or stair-step cracking can signal foundation settlement or expansive-soil heave. Check for sticking doors, sloped floors, or gaps at baseboards.
For crack repair, you’ll choose epoxy injection for structural bonding, polyurethane for active water seepage, or routing and sealing for dormant, nonstructural cracks. If movement persists, you’ll need engineered stabilization before patching, not after.
Crawl Space Foundation: Moisture Risks and Fixes
In a crawl space, you’ll typically see moisture enter through exposed soil vapor, foundation wall seepage, plumbing leaks, and humid outdoor air drawn in through vents.
You can reduce wetting by installing a continuous ground vapor barrier (sealed at seams and piers) and using controlled venting or conditioned, sealed-crawl strategies based on local climate and code.
You prevent mold by keeping wood moisture content below approximately 16–20%, correcting drainage and air leaks, and repairing with targeted cleaning, material replacement, and persistent humidity control.
Common Moisture Entry Points
Where does crawl space moisture usually get in first? You’ll typically see it at exterior grade lines where water ponds against the foundation, then migrates through porous masonry, mortar joints, and unsealed penetrations.
Downspouts that discharge near the wall saturate backfill, reducing soil stability and increasing hydrostatic pressure, which can accelerate foundation settlement.
Next, inspect rim-joist interfaces and sill plates: capillary wicking pulls water from damp concrete into wood, raising moisture content above decay thresholds.
Look for plumbing leaks at supply lines, drain traps, and condensate lines; even slow drips elevate relative humidity and promote microbial growth.
Finally, check cracks at corners and around utility entries; differential movement opens pathways that let bulk water enter during storms, especially when grading directs runoff inward.
Vapor Barriers And Venting
Bulk water entry at grade lines, penetrations, and cracks sets the stage, but ground evaporation and trapped humidity usually keep crawl spaces wet long after the storm passes.
You cut that vapor load by installing vapor barriers over exposed soil, sealing seams, and taping to piers and walls to create a continuous layer. A 10–20 mil polyethylene membrane reduces diffusion and caps soil moisture, which otherwise drives high RH and wood moisture content.
You also need venting that matches your climate: in humid regions, open vents often import moist air that condenses on cooler framing. Instead, you’ll get better control by sealing vents and using conditioned air or a dedicated dehumidifier to keep RH below about 60%.
In dry climates, controlled cross-venting can help.
Mold Prevention And Repairs
How do you stop crawl-space mold from coming back once you’ve lowered the vapor load? You break the remaining moisture and nutrient pathways. Keep wood moisture content below ~16% with conditioned air or a dehumidifier sized to hold 50–60% RH.
Seal rim joists and penetrations to prevent humid air infiltration and condensation on framing. Remove or encapsulate cellulose debris, then clean affected surfaces using HEPA vacuuming and damp wiping; don’t dry-brush.
If Mold growth persists, you likely have hidden wetting: check plumbing, grading, and foundation cracks, then repair and verify with a moisture meter.
After remediation, run a post-clean HEPA air scrubber and replace contaminated insulation. Maintain Air quality by monitoring RH and using MERV 11–13 filtration where air exchanges.
Basement Foundation: Walls, Water Pressure, and Leaks
In your basement foundation, you’ve got to verify that wall load paths carry soil and floor loads into the footing without eccentricity, because misalignment increases cracking risk.
When groundwater rises, hydrostatic pressure adds sustained lateral demand that can bow walls and force water through shrinkage cracks, cold joints, and penetrations.
You can prevent most leaks by controlling exterior water with grading, drains, and waterproofing membranes, then backing it up with interior crack injection where needed.
Basement Wall Load Paths
When your basement wall takes a hit from soil backfill, hydrostatic pressure, and floor loads, the critical question is where that force actually goes.
You protect Basement wall integrity by keeping a continuous path from wall to footing to bearing soil, without weak joints or discontinuities. Your load transfer mechanisms start at the wall, move through vertical reinforcement into the footing, then spread via footing width into competent strata.
At the top, you need positive connection to the floor diaphragm or sill so lateral loads don’t hinge the wall. You also prevent eccentric loading by centering framing over the wall and footing.
If you interrupt this path with cold joints, undersized footings, or unbraced tops, you’ll see cracking, rotation, and long-term serviceability loss.
Hydrostatic Pressure Effects
Beneath the surface, hydrostatic pressure builds wherever water saturates the backfill and can’t drain, and it doesn’t just “push” on your basement wall—it applies a depth-dependent lateral load that rises roughly linearly with water height.
That load adds to earth pressure, increasing bending moments and shear demand at the wall base and at floor diaphragm connections.
If your footing drainage underperforms, the effective water column grows, so wall deflection and crack risk increase even when concrete strength is adequate.
You can reduce demand by limiting saturation: prioritize Drainage improvement to lower hydraulic head and shorten load duration.
Also control Soil compaction; overly dense, poorly graded backfill can reduce permeability and trap water, while uniform, free-draining fills relieve pressure.
Leak Sources And Prevention
Where do basement leaks actually start—at the concrete, or at the pathways water exploits? Most leaks originate at joints, penetrations, and microcracks created by shrinkage and differential movement.
Your foundation materials matter: poured concrete often cracks but resists flow; masonry walls leak at mortar joints and hollow cores unless fully grouted and waterproofed. Water pressure drives seepage through these weak points, especially when exterior drainage fails.
You prevent leaks by controlling water at the source. Grade soil away, extend downspouts, and keep gutters flowing. Install perimeter drains to a sump, and use a capillary break plus damp-proofing or membrane waterproofing.
Protect soil stability with well-compacted backfill and drainage aggregate to limit settlement that widens cracks. Seal penetrations with hydraulic cement or urethane injection, then monitor.
Pier or Pile Foundation: When Soil Can’t Support Slabs
Although a slab-on-grade works well on competent, uniform soils, it can’t reliably span zones with low bearing capacity, high compressibility, or deep seasonal movement. When your geotechnical report shows soft clays, loose fills, peat, or high groundwater, you’ll often shift loads to deeper, stronger strata using piers or piles.
You reduce differential settlement by bypassing weak layers and limiting slab contact with expanding soils. You’ll typically pair this with Foundation reinforcement at grade and targeted Soil stabilization (e.g., moisture control, compaction, or replacement) where shallow soils still influence performance.
You should verify capacity with borings, SPT/CPT data, and settlement estimates, then plan pile spacing and caps to control tilt, vibration, and long-term serviceability for the structure.
Concrete, Rebar, and Depth Choices That Last
Once you’ve chosen a foundation system—slab, pier, or pile—its durability comes down to the concrete mix, reinforcing layout, and embedment depth you specify for the actual exposure and soil movement on site.
Use concrete matched to freeze–thaw, sulfate, or chloride risk; higher cementitious content and low water–cement ratio reduce permeability and cracking. Specify air entrainment where cycles occur and verify strength with cylinders, not assumptions.
Detail rebar by design moments: correct size, spacing, cover, and lap lengths limit flexural cracks and corrosion initiation. Tie reinforcement to maintain placement during pours.
Set depth below frost line and within competent bearing strata to preserve soil stability and control differential settlement. Choose compatible foundation materials and confirm with geotechnical parameters, not rules of thumb.
Grading, Drains, and Waterproofing for Foundation Life
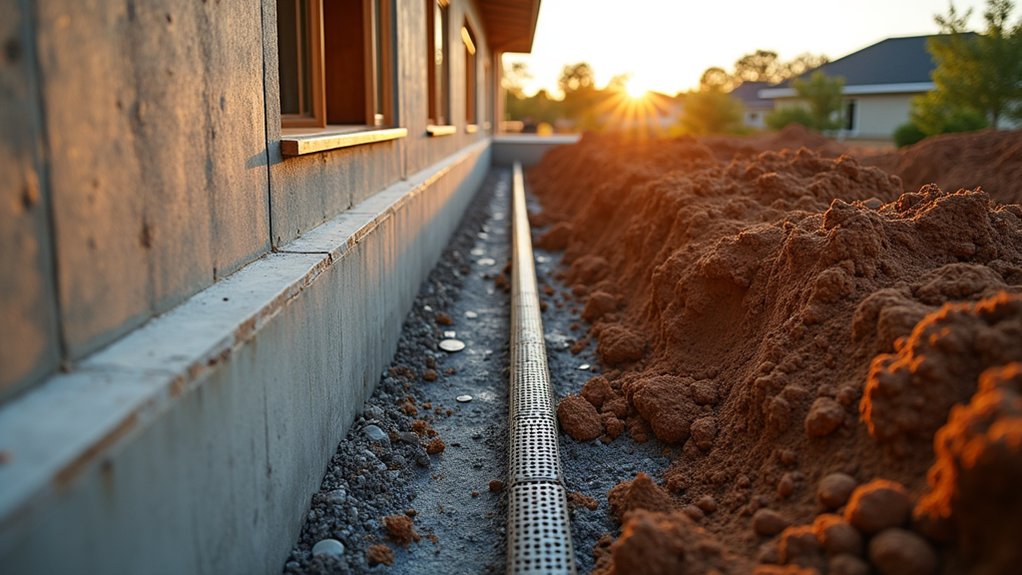
Because water drives most foundation distress, you’ll get more service life from disciplined surface grading, reliable drainage collection, and correctly detailed waterproofing than from thicker concrete alone.
Set finished grade to fall away from walls about 5% for the first 10 feet, and correct grading issues that pond water at corners or against backfill.
Capture roof runoff with gutters, tight downspouts, and solid-leader piping to daylight or a storm system.
At the footing, install a free-draining aggregate zone, filter fabric, and perforated drainpipe with verified slope to a sump or outlet.
Select waterproofing methods by exposure: dampproofing for low hydrostatic risk; membrane systems with protection board where soils stay wet.
Seal penetrations and tie membranes into footing drains.
Frequently Asked Questions
How Do Foundation Types Affect Home Insurance Premiums and Claim Approvals?
You’ll pay higher premiums and face tougher approvals with higher-risk foundations; ~60% of U.S. homes have some foundation issue. Insurers rate soil stability, require waterproofing methods, and scrutinize inspections to validate causation and repairs.
Does Foundation Choice Change a Property’s Resale Value or Appraisal Outcome?
Yes—your foundation choice can shift resale value and appraisal results. Appraisers weigh foundation material, local comparables, and inspection findings; documented structural stability, drainage, and crack history reduce risk adjustments and support higher marketability.
What Permits and Inspections Are Required for Building or Replacing Foundations?
You’ll need a building permit; some jurisdictions report 70% of permit delays stem from incomplete submittals. Follow Building codes and the Permit process, then schedule inspections: excavation/footing, rebar, forms, concrete placement, waterproofing, final sign-off.
How Long Does Foundation Construction or Replacement Typically Take?
You’ll typically need 1–3 weeks for new foundation construction and 3–8 weeks for replacement; your construction timeline depends on foundation material, site access, curing time, utility disconnects, weather delays, and inspection/approval turnaround.
Can Foundation Repairs Be Financed, and What Options Are Commonly Available?
Yes—you can finance foundation repairs. Common Foundation repair financing includes contractor plans, home-equity loans/HELOCs, cash-out refinancing, personal loans, or credit cards. Compare Repair cost options using APR, term length, fees, and lien requirements.