


If you rush decorative woodwork restoration, you’ll practically erase a century of character in an afternoon. You’ll get better ROI when you start with a quick, methodical assessment of dents, loose joints, water staining, and missing profiles, then pick the least invasive fix that still holds up. Clean gently, repair only what’s failing, and save stripping and sanding for the spots that truly need it. But the real cost swing comes from one decision you haven’t made yet…
How to Assess Interior Woodwork Before Restoring
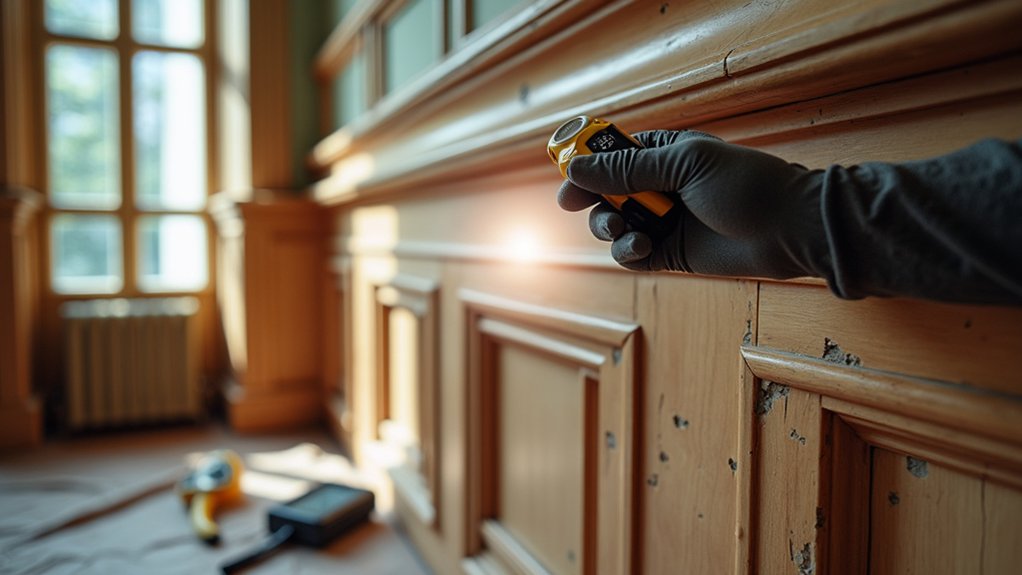
Before you spend money on stripping, sanding, or refinishing, take a hard look at what you’re starting with so you don’t “restore” problems that should be repaired or replaced. Walk the room and note every piece: baseboards, casings, built-ins, rails, and panels. Check for loose joints, missing sections, rot, insect holes, water staining, and soft spots. Probe suspect areas with an awl and document damage with photos and measurements.
Identify species and profile details so you can match wood grain and keep historical accuracy. Look for paint buildup, mismatched patches, or over-sanded edges that reduce value. Test for lead paint before disturbing finishes.
Finally, estimate replacement cost versus repair time so you prioritize high-visibility, high-impact elements first.
Pick the Right Restoration Method for Your Woodwork
Once you’ve mapped the damage and original details, choose the least invasive method that fixes the problem and protects resale value. Start with conservation: keep original profiles and Wood grain whenever possible, since buyers pay for authenticity.
If the finish is mostly intact, plan on a refresh (recoat or wax) rather than full stripping; it’s faster, cheaper, and lowers risk.
Match the method to your Finish types. Shellac and lacquer often respond well to re-amalgamation or a compatible topcoat, while oil finishes may benefit from a light renewal coat.
When you’ve got deep stains, peeling, or mismatched past repairs, step up to selective removal and refinishing only on affected areas.
Reserve full replacement for structural failure or missing sections where repair costs exceed value.
Clean, Repair, and Prep Decorative Woodwork Safely
Even if your trim looks like it only needs a quick coat, you’ll protect your finish—and your budget—by cleaning, repairing, and prepping it the safe, methodical way.
Start by vacuuming profiles with a brush attachment, then wipe with a mild soap solution and a damp (not wet) cloth; dry immediately to prevent swelling. Test cleaners in a hidden spot to avoid dulling old finishes.
Tighten loose casings, re-seat popped nails, and reset hardware so doors and windows operate smoothly again—cheap fixes with big ROI.
Fill small dents with a stainable filler or tinted wax for quick color matching, and patch missing details with compatible putty for historical accuracy.
Caulk only where trim meets walls, not between wood joints. Mask glass and floors, and label parts you remove.
Strip and Sand Interior Woodwork Without Losing Detail
Clean trim and tight repairs set you up for the part that can either elevate the finish or erase sharp profiles: stripping and sanding. Choose the least aggressive method first—gel stripper or infrared—so you don’t round over beads, ogees, and carvings. Work in small sections, scrape with shaped plastic or sharpened wood, and use toothbrushes or brass brushes for crevices.
Keep costs down by protecting what you’ve got: tape adjacent plaster, and stop scraping once bare wood shows. For sanding, skip heavy grits; start at 150–180 and hand-sand with foam pads that conform to profiles. Use folded paper edges for corners, not power sanders.
If you face lifting edges, do Veneer repair before final passes. Finish with a light scuff to avoid scratches and preserve Wood grain enhancement.
Stain, Paint, and Seal Woodwork for a Lasting Finish
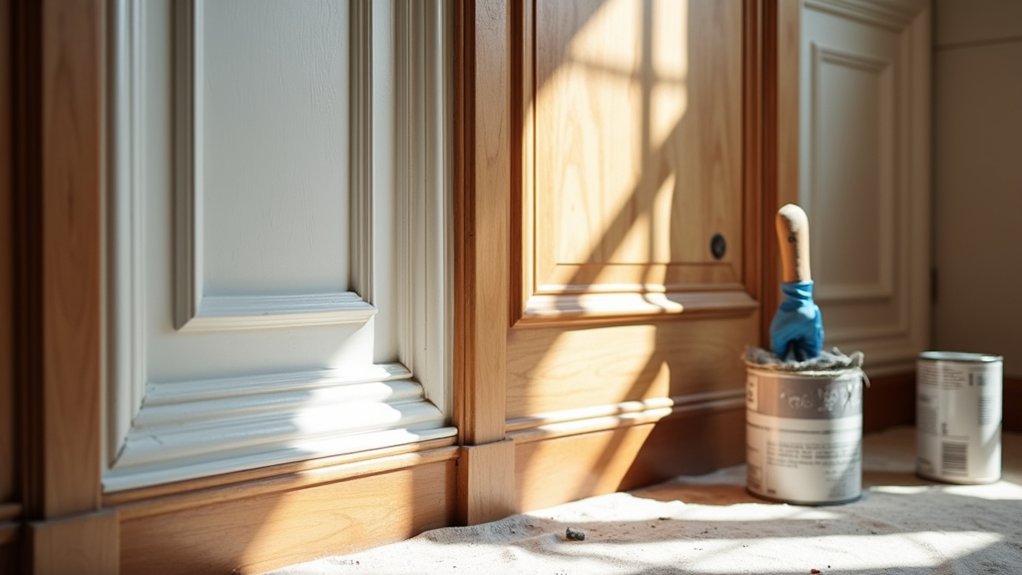
After you’ve preserved the profiles with careful stripping and sanding, choose a finish system that protects the wood and pays you back in durability.
Start with Color matching: test stain or paint on hidden sections, then adjust with tint, glaze, or a second coat so new work disappears into old trim.
For finish selection, decide if you want grain to show (stain) or maximum uniformity (paint). Use a quality primer under paint to block tannins and reduce repaints.
Seal stained wood with a tough waterborne polyurethane for low odor and fast turnaround, or oil-based varnish for warmer tone and higher abrasion resistance.
Apply thin coats, sand lightly between them, and you’ll get a longer-lasting finish with fewer callbacks.
Frequently Asked Questions
Can I Restore Woodwork in a Rented Home Without Violating My Lease?
Yes—you can, if you stick to reversible, landlord-approved changes; renters lose about 1.5× more deposit over unauthorized alterations. Use Furniture refinishing on removable pieces and practice Wood staining techniques on test boards. Prioritize cheap, high-ROI touchups.
How Do I Match New Trim to Existing Wood Species and Grain?
Identify the existing wood species by color, pores, and weight, then buy the closest grade. For grain matching, align growth-ring patterns and cathedral arches, and stain-test scraps first to avoid costly rework.
What Restoration Steps Help Maintain a Home’s Historic Designation Compliance?
To keep your designation “in good standing,” you document everything, use Historic preservation-approved, reversible conservation techniques, retain original fabric, match profiles, avoid over-sanding, repair before replacing, and get approvals early—it protects value and reduces redo costs.
How Much Does Professional Decorative Woodwork Restoration Typically Cost?
You’ll typically pay $75–$200 per hour or $500–$5,000+ per feature, depending on damage and detailing. Get a written cost estimation, compare bids, and use budget planning to target high-ROI rooms.
How Long Should Restored Woodwork Cure Before Normal Use and Cleaning?
Let it harden like dawn’s first frost: you’ll use it lightly in 24–72 hours, but wait 7–30 days curing time before normal cleaning. Proper wood finishing boosts ROI—rush, and you’ll pay again.