

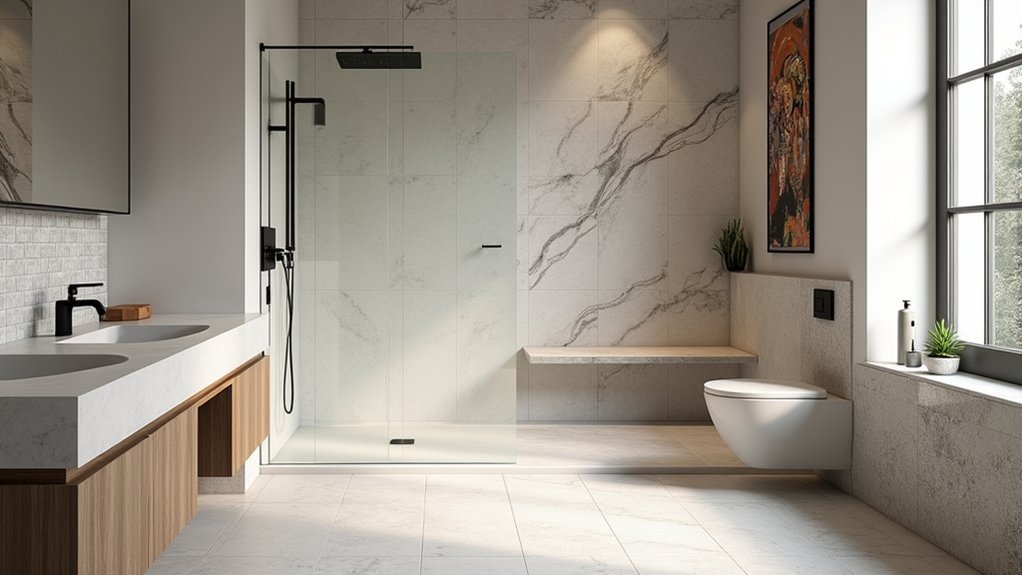
You can spend big on tile and still get a cheap-looking result, or you can spend smart and make every square foot pay you back. Start by matching material, finish, and ratings to the room’s real abuse: wet feet in a bath, grease and heat in a kitchen, and pure optics on a feature wall. When you choose slip resistance, porosity, and layout early, you avoid costly callbacks and wasted cuts—but one common choice can quietly blow your budget…
Start With Tile Basics: Material, Finish, Rating
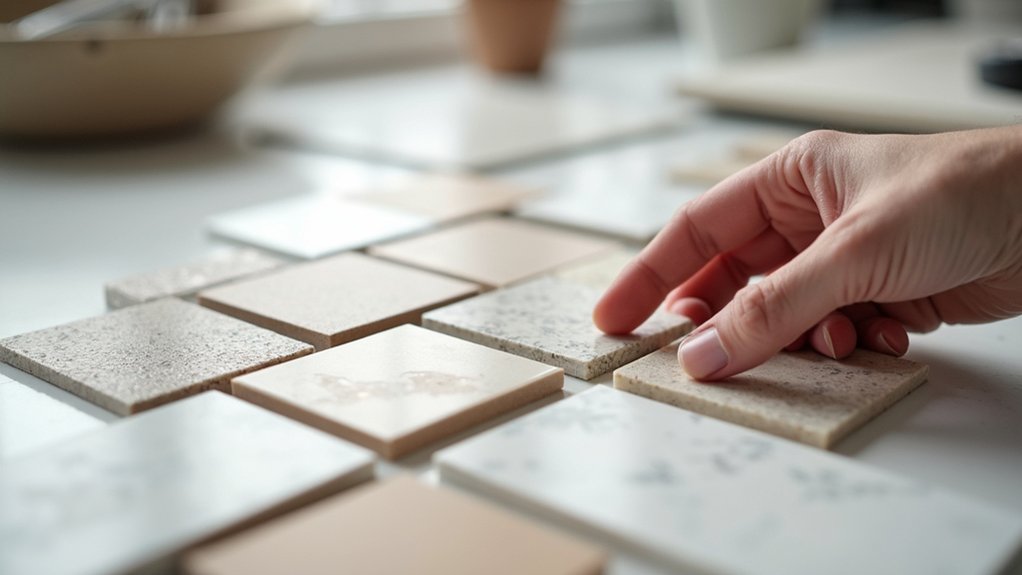
Before you fall in love with a color or pattern, lock in the tile basics that drive cost, durability, and resale ROI: material, finish, and rating.
Start with material: porcelain costs more than ceramic but usually lasts longer and resists chips, so you replace less. Natural stone can boost perceived value, but it raises tile maintenance and sealing costs.
Pick a finish that matches your cleaning reality: matte hides water spots and wear, while high-gloss shows grime and requires more frequent wiping.
Then check rating and grade: choose tiles rated for the surface you’re covering and the traffic you’ll get, so you avoid premature cracking and costly callbacks.
These budget considerations protect margins and keep upgrades attractive to future buyers.
Choose Bathroom Tiles for Water and Slip Resistance
How do you choose bathroom tile that won’t turn into a slip hazard or a maintenance bill later? Start with Tile safety: prioritize slip-rated floors (look for higher DCOF/anti-slip ratings) and skip high-gloss surfaces where water lands. Spend a bit more on textured porcelain; it usually pays back in fewer falls, less grout staining, and lower replacement risk.
Next, control water at the surface and under it. Choose Water resistant finishes on walls and shower zones, and pair them with a quality waterproofing membrane so moisture doesn’t reach the substrate. Keep grout lines tight with larger formats to reduce cleaning time, and budget for epoxy grout in wet areas—it costs more upfront but cuts resealing and mildew cleanup. Confirm absorption ratings before you buy.
Pick Kitchen Tiles That Resist Stains and Heat
Although kitchens feel less “wet” than bathrooms, they punish tile with grease, wine, acidic spills, and hot pans—so you’ll get the best ROI by choosing low-porosity porcelain or glazed ceramic that won’t absorb stains and can handle heat without discoloring.
Put these on backsplashes and around ranges to cut maintenance and avoid costly replacement. For floors, prioritize PEI-rated porcelain and choose darker grout or epoxy grout so spills don’t become permanent.
If you want a Decorative mosaic, keep it to the backsplash where cleaning’s quick and foot traffic won’t loosen small pieces. Pick Textured finishes only where you need grip, because deep texture can trap oil; a light matte or satin usually cleans fastest.
Seal natural stone only if you accept ongoing resealing costs.
Design a Feature Wall With Bold Tile Shapes
When you want a high-impact upgrade without a full remodel, a bold tile feature wall delivers the strongest ROI per square foot because you concentrate premium shapes—like hex, scallop, picket, or chevron—into a small, photo-ready area.
Keep the wall to one focal zone (vanity backdrop, tub surround band, range wall) so you buy fewer specialty tiles and cut labor hours. Use color contrast to make the geometry read at a glance: light tiles on dark paint, or vice versa.
Try pattern mixing with one simple field tile elsewhere, so the feature feels intentional, not busy. Order samples, tape them up at eye level, and check them in daytime and nighttime lighting before you commit.
Avoid Tile Layout and Grout Color Mistakes
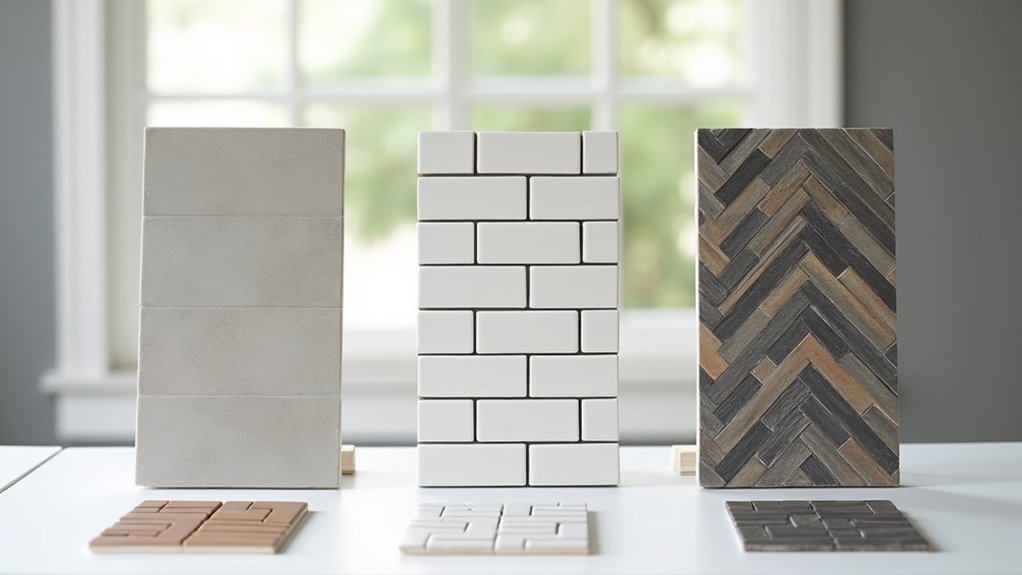
A bold feature wall earns its keep only if the layout reads clean and the grout supports the pattern instead of fighting it. Start with a dry layout on the floor so you don’t pay for re-cuts and wasted tile. Center key lines on the focal point, then push tiny slivers into corners or behind fixtures where they won’t be noticed.
Pick grout like you pick paint: high-contrast grout highlights every mismatch, while tone-on-tone hides minor lippage and saves you from costly touch-ups. Keep Pattern mixing disciplined—limit it to one statement tile plus one calm field tile, or your room looks busy and cheaper.
In wet zones, budget for Grout sealing (or use epoxy) to protect the install and your resale value. Use sample boards under your actual lighting.
Frequently Asked Questions
How Many Extra Tiles Should I Buy for Waste and Future Repairs?
Buy 10% extra tiles for simple layouts, 15% for diagonals or tricky cuts, so you avoid costly rush orders. Store spares for Future replacement, and plan Tile disposal for leftovers to protect your ROI.
What Tile Sizes Work Best in Small Bathrooms or Narrow Kitchens?
You’ll get the best ROI using larger tiles (12×24 or 24×24) in small baths, and 12×24 laid lengthwise in narrow kitchens; minimize grout. Choose a simple Tile pattern and tight Color coordination.
Can I Install New Tiles Over Existing Tiles Without Removing Them?
Yes, you can tile over existing tiles if they’re solid, flat, and clean. You’ll save demolition costs and boost ROI. Use compatible adhesive, choose Tile patterns carefully, and refresh grout colors for a high-end look.
How Do I Calculate Tile Quantity and Budget for a Full Room?
Measure room surfaces, multiply to get square metres, then add 10–15% waste for cuts and Tile patterns. Price tiles, adhesive, and grout color options; include labour. Compare totals to resale lift, and you’ll maximize ROI.
What Is the Best Way to Clean and Maintain Different Tile Types?
You’ll clean and maintain tiles best by sweeping often, mopping pH-neutral, and targeting stains fast. Prioritize Grout cleaning with a brush, then schedule Sealant application for porous stone—saving replacement costs and protecting ROI long-term.