


You can’t just strip and oil Tudor beams and hope for the best. You need to confirm they’re structurally sound, then control dust, fumes, and soot before you touch a scraper. Once you know what’s on the surface—paint, varnish, or decades of smoke—you can choose a method that removes it without scarring the timber. The tricky part is what you do next, because the wrong clean-up or finish can trap moisture and start new damage.
Are Your Tudor Beams Safe to Restore?
Before you strip paint or start sanding, you need to confirm your Tudor beams can handle restoration without risking the structure. Start by checking whether they’re truly structural or just decorative cladding.
Look for sagging ceilings, bouncing floors, or cracks radiating from beam ends—signs loads may be shifting. Probe gently with an awl in hidden spots; sound timber resists and feels firm, while rot yields, crumbles, or smells musty.
Scan for insect pinholes, frass, or hollow-sounding sections that suggest active infestation. Trace moisture sources: leaking roofs, failed gutters, or cement render trapping damp against oak.
If joints are loose, pegs missing, or ends buried in wet masonry, stop and call a timber specialist. Safety comes first always.
Protect Floors, Walls, and Lungs First
Once you’ve confirmed the beams are sound, protect everything around them because restoration makes a fine, gritty mess. Lay heavy-duty dust sheets over floors, then add taped-down rosin paper or cardboard on traffic paths. Seal skirting boards, built-ins, and nearby plaster with low-tack tape and plastic sheeting, overlapping seams so dust can’t sneak through.
Control the air before you start. Hang zip doors or taped plastic at room openings, and block HVAC returns so particles don’t spread. Set a fan in a window to exhaust outdoors and crack another window for make-up air.
Wear a fitted P2/P3 respirator, safety glasses, gloves, and a cap. Keep a vacuum with HEPA filtration beside you and clean little, often.
Identify Paint, Varnish, Soot, or Stain
With the room sealed and your PPE on, turn your attention to what’s actually coating the timber, because each layer behaves differently and needs a different approach.
Start with a bright raking light and a magnifier: paint often sits as an opaque film with crisp edges and may show multiple colors in chips. Varnish looks amber or glossy, pooling in corners and highlighting grain; it can craze into fine cracks. Soot is matte, smudges on a white cloth, and concentrates near fireplaces or ceiling lines.
Stain sinks in, changes tone without a surface skin, and won’t flake.
Do a small spot test: wipe with water, then denatured alcohol, noting any color transfer, tackiness, or softening. Record findings before you proceed.
Strip Paint Safely (Heat vs. Chemical vs. Scrape)
How do you strip paint off historic Tudor beams without scorching the oak or grinding away its tool marks? Start with the least aggressive method and test a small, hidden patch.
For heat, use an infrared heater or a low‑temp heat gun with a wide nozzle; keep it moving, shield joints, and stop if you smell charring or see sap bubble.
For chemicals, choose a heritage‑safe, solvent‑free or low‑VOC paste stripper that clings overhead; apply thickly, cover with film, then lift softened layers with a plastic or sharpened wooden scraper.
For scraping alone, use a cabinet scraper lightly, working with the grain and avoiding corners.
Capture debris, ventilate well, and wear gloves, goggles, and a respirator.
Clean Beams Without Raising or Bleaching Grain
After you’ve stripped the paint, you’ll get the best results by cleaning Tudor beams as dry as possible, since water swells oak fibres and harsh cleaners can bleach the tannins.
Start with a soft brush and vacuum (HEPA if you’ve got it) to lift soot and grit from cracks. Follow with a stiff, natural‑bristle brush or nylon pad, working with the grain, and wipe dust away with dry microfibre cloths.
For stubborn greasy marks, use a barely damp cloth with pH‑neutral soap, then immediately towel dry; don’t flood joints or end grain.
Skip vinegar, bleach, caustic degreasers, and abrasive sanding that erases tool marks. If you need uniform tone, spot‑clean only and blend outward to avoid halos.
Let beams air‑dry fully before finishing.
Treat Woodworm (and When to Call a Pro)
If you spot tiny round exit holes, gritty frass (wood dust) on ledges, or fresh powder dropping from beam cracks, treat it as active woodworm until you’ve proved otherwise. Vacuum the dust, mark a few holes with pencil, and recheck in 7–10 days; new frass means activity.
Improve ventilation, fix moisture sources, and keep humidity low, since damp timber invites reinfestation.
For DIY treatment, choose a boron-based woodworm fluid or gel suitable for interior structural timbers, then brush and inject it into holes, working methodically along the beam. Wear gloves and eye protection, and follow label cure times before finishing.
Call a pro if you see widespread fresh dust, sagging timbers, suspect deathwatch beetle, or can’t control damp.
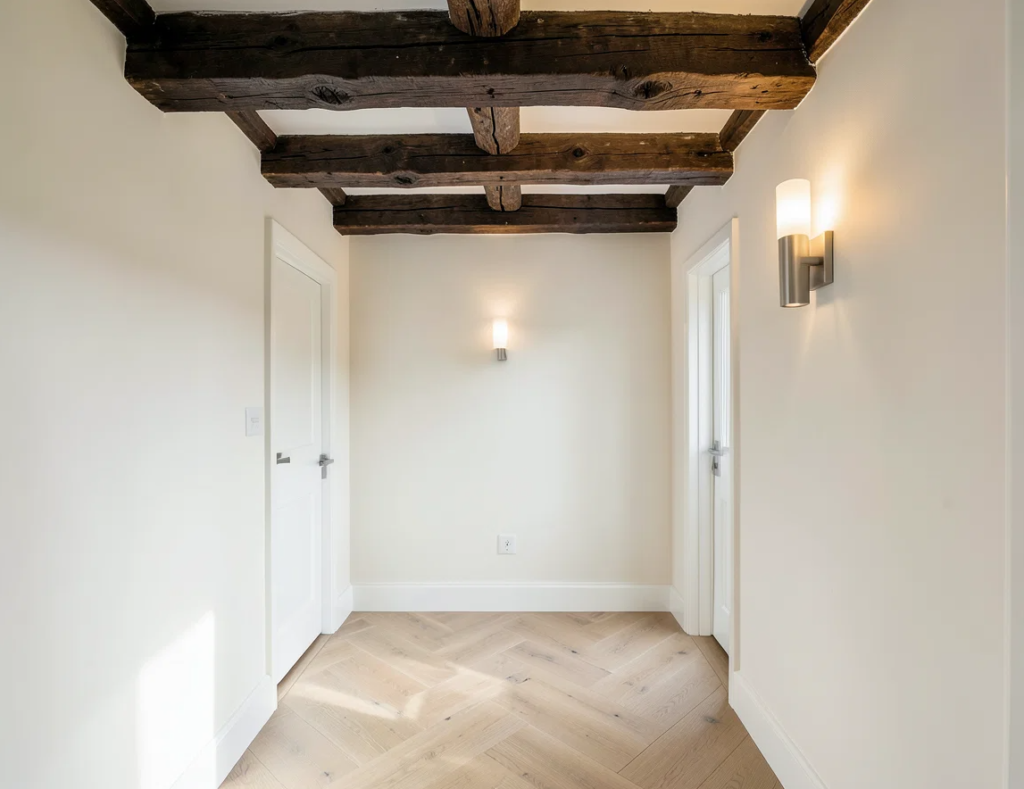
Repair Cracks: Fill, Stitch, or Splice?
Although most Tudor beam cracks look alarming, you can usually match the repair to what the split is actually doing. First, check if it’s stable: mark the ends with pencil and recheck after a week of normal heating and humidity.
If the crack is hairline and not moving, fill it to keep dust and draughts out. Rake out loose fibres, vacuum, then pack in a flexible, stainable wood filler or tinted lime-based putty; keep it slightly recessed so it won’t telegraph.
If the split opens or runs across a joint, stitch it: drill paired holes, insert hardwood dowels or concealed stainless screws, and pull the faces together without crushing the arrises.
If timber’s missing or the beam’s soft, splice: cut back to sound wood and scarf in matching oak with glue and pegs.
Choose a Finish: Oil, Wax, or Breathable Seal
Because Tudor beams need to shed moisture as well as look the part, you’ll get the best results from a finish that suits both the room and the timber’s condition.
In dry living spaces, a penetrating oil deepens colour, highlights grain, and keeps the surface easy to refresh—just wipe on, wipe off, and recoat when it dulls.
If you want a softer sheen and a traditional feel, choose wax over oil, but only after the wood’s clean and stable; wax sits closer to the surface, marks more easily, and needs buffing to stay even.
In kitchens, bathrooms, or draughty walls, pick a breathable seal (like a vapour‑permeable hardwax oil) so splashes resist staining without trapping damp.
Always test on an inconspicuous patch first.
Conclusion
You’ve now taken your Tudor beams from tired and hidden to sound, clean, and ready to show off. By checking structure first, protecting your space, identifying coatings, and stripping with care, you avoid needless damage. Gentle cleaning keeps the grain honest, and timely pest treatment stops problems spreading. Repair cracks only as far as needed, then choose a breathable finish that suits the room. Work patiently, and your beams will last for decades.