

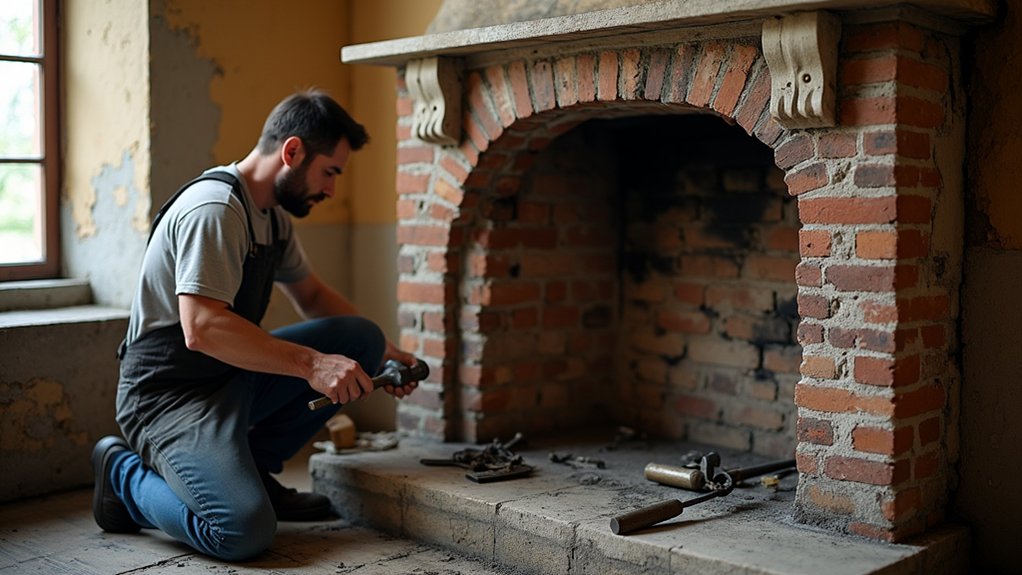
Restoring an authentic antique fireplace starts with restraint: you’ll preserve more by changing less. Begin by documenting its materials, finishes, alterations, and damage, then have a qualified professional assess the chimney and firebox before cleaning or using it. Set priorities around safety and stability, not appearance alone. Gentle, compatible repairs can protect its function without erasing its patina—but the wrong cleaner, polish, or replacement can permanently compromise the character you’re trying to save.
Inspect Your Antique Fireplace First
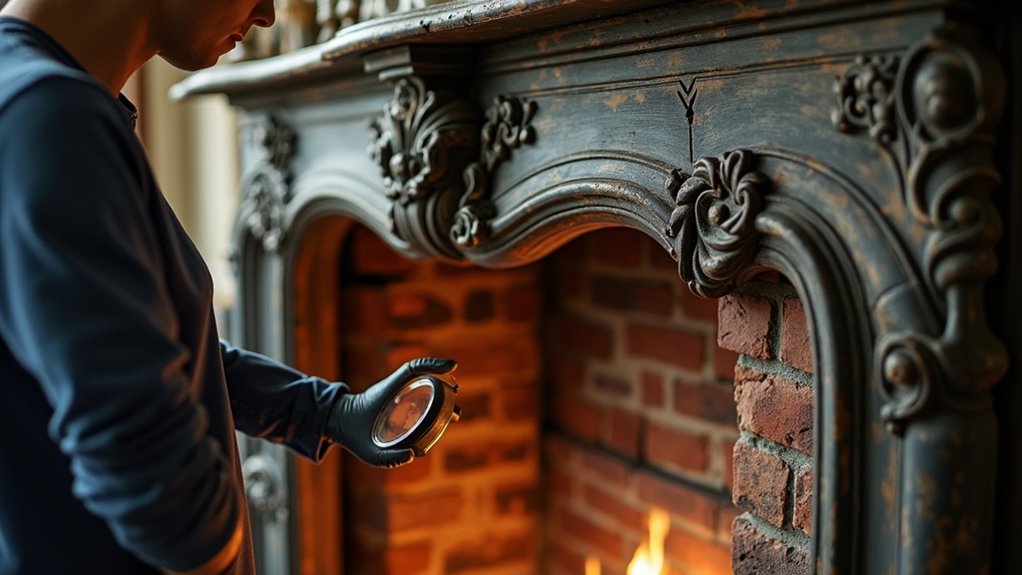
Before restoring an antique fireplace, inspect its condition, construction, and surroundings carefully. Photograph every angle, then record dimensions, materials, joinery, and visible alterations. Look for cracked masonry, loose joints, corrosion, water staining, insect damage, and uneven settlement, but don’t remove original components yet.
Examine the Decorative mantel for carved details, finish layers, repairs, and areas weakened by heat or moisture. Document Surround embellishments, including tile, metalwork, wood trim, plaster, and paint, because small features often establish the fireplace’s period and character.
Check whether later additions conceal earlier surfaces, and mark each piece before handling it. Note nearby flooring, walls, hearth extensions, and trim so your restoration won’t damage adjacent finishes.
Create a condition map and prioritize stabilization before cleaning, refinishing, or replacing anything.
Test the Chimney and Firebox for Safety
Before lighting a fire, inspect the chimney for cracks, loose masonry, blockages, and creosote buildup.
Assess the firebox for damaged bricks, open joints, and weakened mortar, and verify that the damper and flue provide safe ventilation.
If you find defects or uncertainty, don’t use the fireplace until a qualified professional evaluates it.
Inspect Chimney Structure
A thorough inspection is essential before you light a restored fireplace, because hidden chimney or firebox damage can cause smoke leaks, carbon monoxide exposure, or a structural fire.
Hire a qualified chimney professional to examine the full flue, from the throat to the crown. They’ll check for cracked masonry, missing mortar, displaced liners, nests, tar deposits, and water penetration.
Request a smoke test to reveal leaks into adjoining rooms or wall cavities, and confirm that the flue has adequate height, clearance, and an unobstructed termination.
A camera inspection can identify concealed deterioration that visual checks miss.
Verify the chimney’s dimensions against the fireplace opening to support proper draft and ventilation efficiency.
Don’t use the fireplace until repairs restore chimney integrity and the inspector documents safe operation. Keep the report for future maintenance.
Assess Firebox Condition
How sound is the firebox behind its historic finish? Before you preserve its character, inspect every firebrick, joint, and iron component. Look for cracked or missing bricks, eroded mortar, spalling faces, loose dampers, and warped lintels.
Shine a strong light across the chamber; soot can conceal gaps and heat damage. Don’t scrape original surfaces aggressively, because their age and finish may hold historical value.
A certified chimney professional should examine the firebox, smoke chamber, and flue, then perform appropriate safety tests, including a controlled smoke test where permitted. Never light a fire until defects receive documented repairs.
Record photographs and measurements for your restoration file, and include refractory materials, specialized labor, and replacement Fireplace accessories in your Restoration budgeting.
Retain sound original fabric whenever safety allows, but prioritize structural integrity over appearance.
Verify Safe Ventilation
Once the firebox is sound, verify that smoke can travel safely through the chimney and exit above the roofline.
Hire a qualified chimney professional to inspect the flue for creosote, cracked liners, loose masonry, bird nests, and hidden obstructions. Request a smoke test or video inspection; these tests reveal leaks that could send combustion gases into your rooms.
Check that the chimney’s height and position provide adequate draft, especially if you’ve added insulation or sealed nearby openings.
Don’t light a fire until the technician confirms proper ventilation safety and recommends repairs.
Preserve original brickwork where possible, but replace unsafe liners and rebuild unstable sections with compatible materials.
Finally, test carbon monoxide alarms and confirm that doors, dampers, and grates support consistent airflow optimization during every burn.
Set Restoration Priorities Before Cleaning
Before cleaning, assess the fireplace’s structural condition, including loose masonry, damaged joints, and unstable components.
Identify original materials so you can choose compatible cleaning and repair methods.
Prioritize historic features, protecting distinctive mantels, tiles, grates, and finishes from unnecessary alteration.
Assess Structural Condition
Start by evaluating the fireplace’s structural condition before removing soot, paint, or other finishes. Inspect the breast, lintel, jambs, hearth, and surrounding wall for cracks, bulging masonry, loose joints, dampness, or signs of movement.
Check whether the opening remains square and whether the lintel supports the masonry above it. Don’t light a fire until a qualified mason or structural engineer confirms that the chimney and firebox are safe.
Photograph every defect and mark its location, creating a baseline for repairs. Address instability, water intrusion, and failing support before cosmetic cleaning, since aggressive work can worsen hidden damage.
Treat fragile decorative details carefully, but prioritize hazards over appearance. Your repair plan should protect the fireplace’s historical significance while restoring safe performance.
Never conceal active structural problems beneath mortar, paint, or replacement trim.
Identify Original Materials
Identify the fireplace’s original materials before cleaning or repairing it. Examine the firebox, surround, hearth, mantel, and backing, noting brick, stone, cast iron, steel, timber, tile, mortar, plaster, and paint.
Look for tool marks, maker’s stamps, hand-cut edges, uneven joints, and layered finishes that reveal Vintage craftsmanship. Photograph each surface and record its condition, dimensions, and location before disturbing anything.
Test questionable areas cautiously: a conservator can distinguish original lime mortar from later cement, natural stone from cast substitutes, and early paint from modern coatings.
Don’t assume every visible component dates from the same period; renovations often combine materials. Use these findings to choose compatible cleaners, repair compounds, and methods.
Material preservation begins with restraint: avoid stripping, polishing, or replacing fabric until its composition and significance are documented.
Prioritize Historic Features
Once you’ve documented the fireplace’s materials, rank its historic features before choosing any cleaning or repair method. Evaluate the mantel, surround, firebox, hardware, and surviving finishes for Historical significance. Original elements that reveal the maker’s craftsmanship, period, or household use should receive priority over later additions or cosmetic damage.
Examine Architectural details such as carved profiles, tool marks, joints, paint layers, tiles, and unusual proportions. Photograph each feature, note its condition, and identify risks from soot, moisture, heat, or unstable attachments.
Decide which components require stabilization, gentle cleaning, conservation, or replacement only when necessary. Don’t polish, strip, repaint, or repoint a feature simply because it looks worn; wear can document age and use. Preserve intact irregularities, and consult a qualified conservator before altering disputed or especially rare elements.
Clean Antique Fireplace Materials Safely
Before cleaning, determine whether the antique fireplace is made of cast iron, glazed tile, brick, stone, or painted wood, because each material tolerates different products and methods.
Test every cleaning agent on an inconspicuous spot first, and photograph the surface before you begin.
Use a soft brush and a vacuum with a screened nozzle to remove loose soot without scratching finishes.
For glazed tile, choose a pH-neutral cleaner and avoid abrasive pads that can dull the glaze.
Clean cast iron with a barely damp cloth, then dry it immediately to prevent rust.
Brush brick and stone gently; don’t saturate porous masonry or use acidic products.
Treat painted wood with minimal moisture and mild soap.
Skip aggressive polishing techniques that erase patina, and never scrape historic residue.
Wear gloves and confirm ventilation.
Repair Cast Iron, Stone, Brick, and Tile
After cleaning, inspect the firebox, hearth, surround, and joints for damage before attempting repairs. Photograph every defect, then consult a qualified mason or metal conservator when cracks affect stability, ventilation, or fire safety.
For cast iron, remove loose rust with a gentle wire brush, treat corrosion, and use compatible high-temperature filler only where appropriate. Don’t weld antique panels without specialist guidance; heat can distort them.
Repoint brick and stone with a breathable lime-based mortar that matches the original hardness and color. Replace spalled units with reclaimed material whenever possible, rather than mixing modern masonry.
Reset loose tiles using heat-resistant adhesive, preserving their alignment and glaze. Keep Decorative accents intact, and document any discreet Modern adaptations so future repairs remain reversible and visually consistent with the fireplace’s historic character.
Modernize It Without Losing Its Character
Modernize an antique fireplace by upgrading safety and efficiency in ways that remain reversible and visually discreet. Have a qualified professional inspect the chimney, install a correctly sized flue liner, and add a discreet carbon-monoxide detector nearby.
If local regulations permit, consider a sealed gas or electric insert that fits within the existing firebox without cutting original masonry. Choose controls, vents, and surrounds in finishes that complement the period hardware rather than compete with it.
For Contemporary integration, conceal wiring inside adjacent millwork or use a freestanding solution that leaves the mantel untouched. Balance Modern aesthetics with historically appropriate proportions, muted colors, and simple profiles.
Avoid permanently removing tiles, ironwork, or carved trim. Document every alteration, retain displaced components, and specify reversible fasteners so future restoration remains straightforward.
Protect the Finish and Maintain the Fireplace
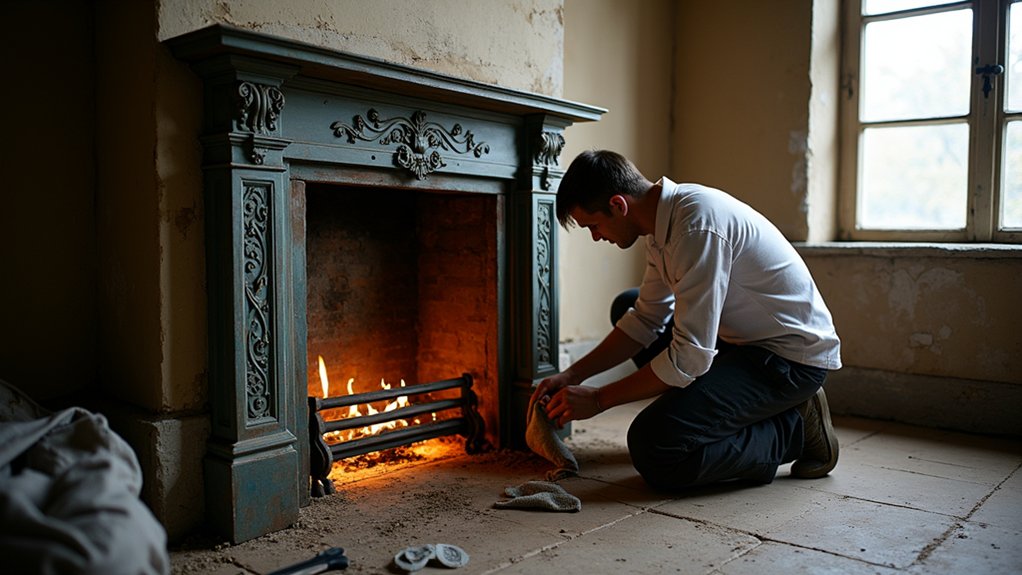
Protect the fireplace’s finish by cleaning it gently and addressing wear before it becomes permanent. Dust carved surfaces with a soft brush, then wipe them with a barely damp microfiber cloth. Don’t use abrasive pads, acidic cleaners, or excessive water; they can strip patina, loosen gilding, and stain porous masonry. Test any cleaner in an inconspicuous area first.
Preserve original Decorative paint by avoiding household polish and documenting its condition before repairs. Ask a conservator to consolidate flaking layers rather than repainting them.
Inspect the firebox, damper, mortar, and hearth each year, and remove soot with appropriate, nonabrasive methods. If you’ve installed Modern inserts, follow the manufacturer’s servicing schedule and keep required clearances unobstructed.
Repair cracks, corrosion, or loose fittings promptly, and use the fireplace only after a qualified professional confirms it’s safe.
Frequently Asked Questions
Can I Restore an Antique Fireplace Myself, or Should I Hire a Specialist?
You can handle minor cleaning and repairs with DIY techniques and basic Restoration tools, but hire a specialist for structural damage, masonry, historic finishes, gas lines, or chimneys to protect safety and authenticity.
How Much Does Professional Antique Fireplace Restoration Typically Cost?
Professional antique fireplace restoration typically costs $2,000–$10,000, depending on condition, materials, location, and complexity. You’ll pay more for conservation-grade restoration techniques, antique paint analysis, structural repairs, specialist labor, and custom replacement components.
Do I Need Permission or Permits to Restore a Listed Fireplace?
Listed-fireplace permissions protect historical accuracy. Before restoring, contact your local conservation officer and planning department; you’ll likely need listed-building consent. Discuss preservation techniques, document proposed work, and never alter fabric or fittings without written approval.
Where Can I Find Historically Accurate Replacement Parts and Decorative Accessories?
You can find historically accurate replacement parts through specialist architectural salvage yards, heritage suppliers, and reputable antique dealers. Use restoration techniques and antique sourcing, verify dimensions, materials, provenance, and compatibility before purchasing accessories.
Can an Antique Fireplace Be Converted to Gas, Electric, or Ethanol Fuel?
Yes, you can convert an antique fireplace to gas, electric, or ethanol, but Modern fuel conversions require professional assessment. Address Safety considerations, ventilation, clearances, liners, controls, and local codes before selecting reversible equipment that protects historic fabric.