

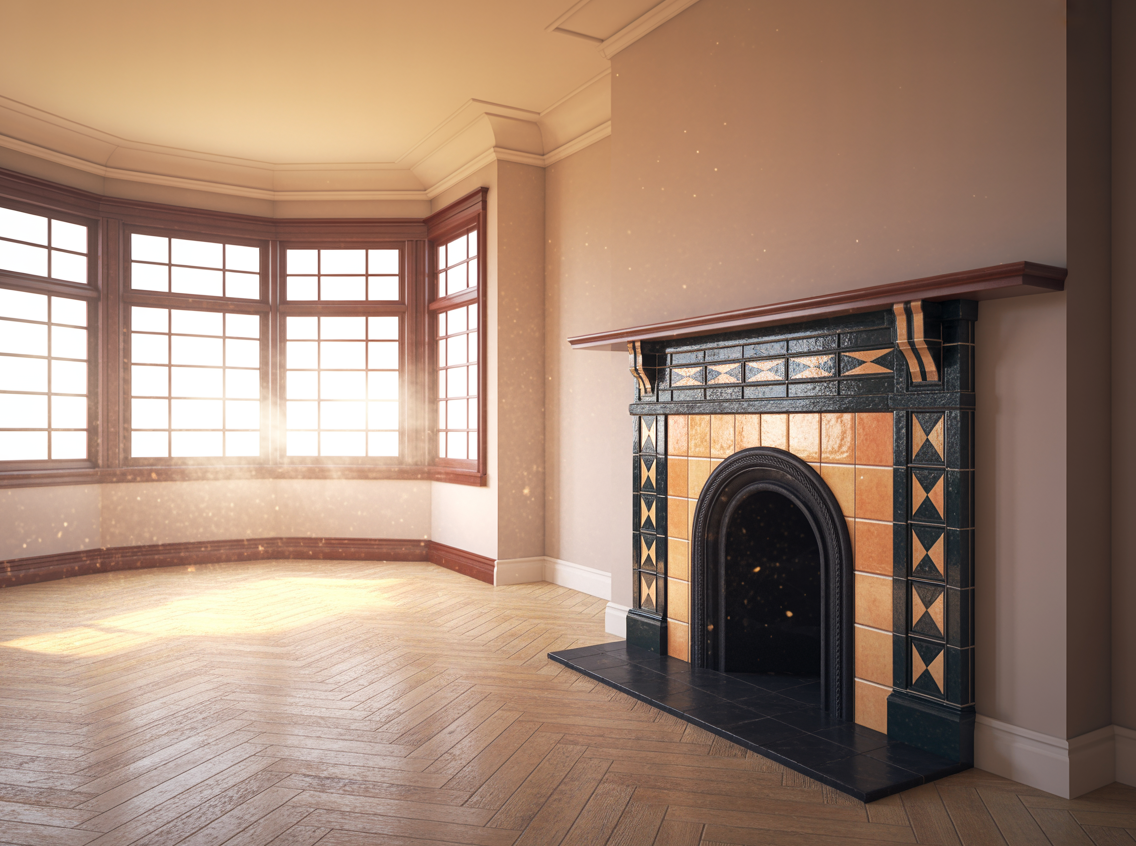
You can’t restore an Art Deco fireplace well until you’ve checked safety basics like chimney integrity, venting, and clearances. Then you need to identify what’s original—stepped geometry, glazed tile, chrome trims, or a cast surround—so you don’t erase the very details that make it iconic. From there, you’ll choose a plan that fits your budget and skills, because the next step can uncover surprises you’ll want to handle the right way.
Check Safety First: Chimney, Vents, Clearances
Before you refinish a single tile or touch up the surround, make sure the fireplace is safe to use by checking the chimney, vents, and required clearances.
Schedule a chimney inspection and sweeping so you’re not sealing in creosote, soot, or debris. Confirm the flue opens, closes, and drafts properly, and look for cracked liners, missing mortar, or water damage that can leak heat and fumes.
Test any gas line and shutoff valve, and have a licensed tech check burners and ignition. Verify venting matches the appliance type and local code.
Measure clearances to combustibles: mantel, trim, framing, and nearby furnishings.
Install or replace smoke and carbon monoxide alarms, and keep a fire extinguisher nearby.
Identify Original Art Deco Fireplace Features
Once you’ve confirmed the fireplace is safe, start by identifying which elements are truly original Art Deco—because those details should guide every cleaning, repair, and replacement decision.
Look for strong geometry: stepped profiles, sunbursts, chevrons, zigzags, and symmetrical, streamlined surrounds.
Check materials common to the era, such as glazed ceramic tiles, Vitrolite, chrome or nickel trim, marble with bold veining, terrazzo hearths, and cast-iron inserts with crisp linear grilles.
Examine workmanship: tight grout lines, mitered corners, and consistent tile size often signal period installation.
Compare patina across parts; original pieces usually age evenly, while later patches look brighter or mismatched.
Inspect the mantel and firebox opening for altered proportions, extra screw holes, or swapped fasteners.
Choose a Restoration Plan (DIY vs Pro, Budget)
Although you might feel tempted to jump straight into scrubbing and patching, you’ll get a better result (and avoid expensive do-overs) by choosing a restoration plan that matches your skills, the fireplace’s condition, and your budget.
Start by listing goals: preserve original finishes, improve safety, or update for daily use.
Decide what you can DIY—gentle surface cleaning, documenting details, and sourcing period-appropriate materials—versus what needs a pro.
Call a specialist if you suspect structural movement, chimney or flue issues, gas-line work, electrical add-ons, or lead/asbestos concerns.
Build a budget with three tiers: essential safety and code compliance, cosmetic upgrades, and optional enhancements.
Add a 15–25% contingency for surprises, and schedule work around material lead times.
Repair Cracked Hearth, Surround, and Deco Tile
If you tackle cracks in the hearth, surround, or Deco tile early, you’ll stop heat, vibration, and moisture from turning hairline damage into loose masonry and missing pieces.
Start by checking movement: press around the crack, tap for hollow sounds, and note any shifting tiles. Vacuum grit from joints, then widen fine cracks slightly with a carbide scraper so repair material can key in.
For stone or concrete hearths, pack a color-matched, heat-tolerant repair mortar, strike it flush, and keep it damp while it cures.
For surrounds, reset any loose sections with refractory mortar and re-point joints neatly.
If a Deco tile is cracked, lift it carefully, save fragments, and set a matching replacement with thinset; grout after full cure.
Remove Paint Safely to Reveal Deco Details
Before you reach for a scraper, test and choose a paint-removal method that won’t chip brittle Deco tile or scar the surround. Start by identifying what you’re dealing with: latex, oil, or multiple layers. Swab a hidden spot with denatured alcohol; softening suggests latex, while mineral spirits points to oil.
If the home’s pre-1978, assume lead and use an EPA RRP-safe approach: contain dust, wear a P100 respirator, and avoid dry sanding. Use a low-odor, non-caustic gel stripper or infrared heat to lift paint slowly, then nudge it off with plastic tools.
Neutralize and rinse per the product label, and keep grout joints from soaking. Finish by vacuuming with a HEPA unit and wiping clean.
Match Period-Correct Art Deco Finishes and Upgrades
Once you’ve uncovered the original surround, you can bring the fireplace back to its Art Deco swagger by matching finishes that feel intentional, not “updated.” Start by reading the room’s era cues—tile glaze and color, grout width, metal trim profile, and mantel geometry—then choose materials that echo those details: glossy or crackle ceramic in saturated jewel tones, stepped or chevron motifs, slim chrome or brushed nickel edging, and a firebox finish in matte black or graphite.
Keep grout lines crisp and slightly wider if the original calls for it, and pick a warm gray or buff tone instead of bright white. Upgrade discreetly: add a code-compliant damper, a hidden gas key, or a new insert with a simple, rectilinear face.
Avoid faux “distressing” and oversized rustic surrounds.
Conclusion
You’ve now got a clear path to restore your Art Deco fireplace without losing what makes it iconic. Start by confirming the chimney, vents, and clearances are safe, then identify original tiles, metals, and geometry worth saving. Choose a plan that fits your skills and budget, and repair cracks before cosmetics. Strip paint carefully to uncover authentic details. Finally, match period-correct finishes and subtle upgrades, so your fireplace becomes a bold, timeless focal point.