

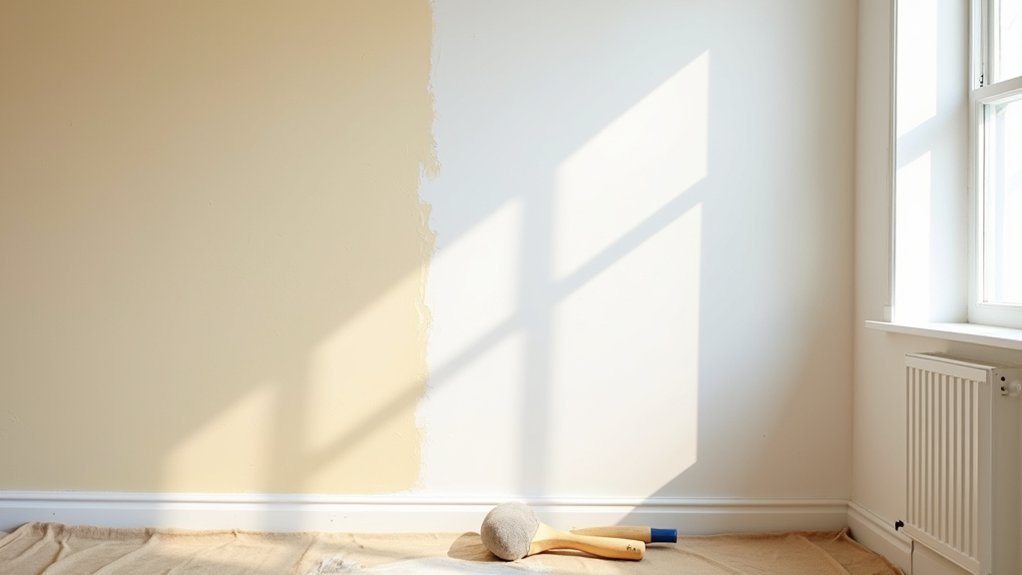
Revitalizing tired walls starts with more than choosing a new color. You’ll need the right paint sheen, quality tools, safety supplies, and a clear plan for protecting floors, trim, and furniture. Clean and repair every surface before priming, then apply controlled brushwork and even roller coats. Careful inspection will help you correct drips, laps, and thin spots—but the finish depends on a few preparation details many homeowners overlook.
Choose Paint, Tools, and Safety Supplies
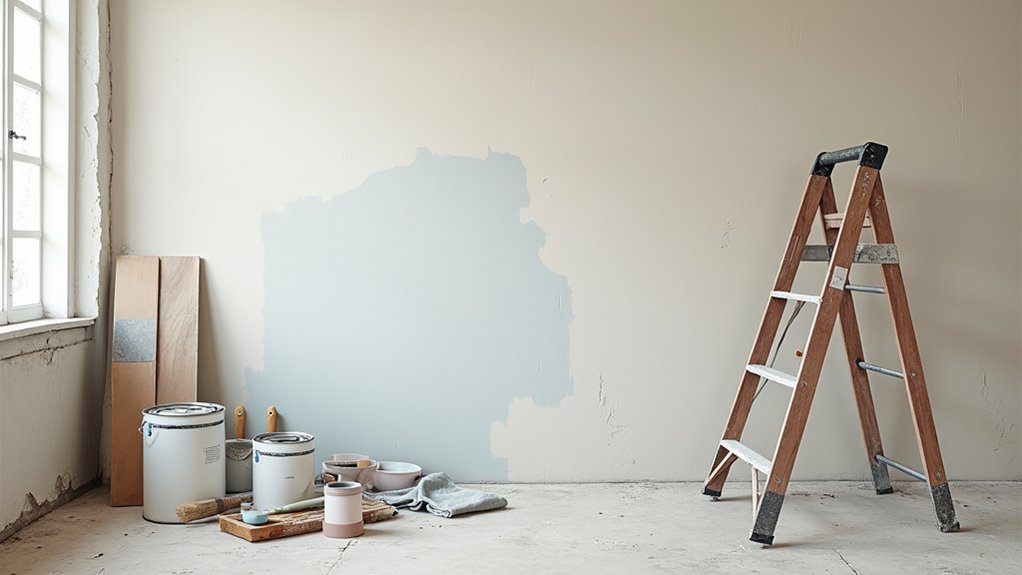
Start by choosing a quality interior paint in the finish that suits the room: matte or eggshell hides wall imperfections, while satin or semi-gloss withstands moisture and frequent cleaning.
Compare color selection under the room’s actual lighting, and buy enough paint to complete the project without shade variations. Check the label for coverage, drying time, and recommended surfaces.
For tools, gather angled and straight brushes, a roller with the correct nap, a sturdy extension pole, a paint tray, a stir stick, and a small bucket for cutting in. Include a putty knife, fine-grit sanding sponge, spackle, and clean rags for wall preparation.
Your safety supplies should include protective eyewear, disposable gloves, a dust mask, and dependable ventilation.
Review finish options before purchasing, because sheen affects both appearance and durability.
Protect Floors, Trim, and Furniture
Protect floors completely with drop cloths, securing their edges to prevent shifting.
Tape trim edges cleanly, pressing the tape firmly along seams for sharp lines.
Move furniture out of the room or cover it tightly with plastic sheeting.
Cover Floors Completely
Before opening a paint can, cover the entire floor with canvas drop cloths, overlapping the seams and securing the edges with painter’s tape so spills can’t reach the flooring. Use heavy-duty canvas rather than thin plastic, which can shift, tear, and leave wet paint exposed.
Extend protection several inches up the wall, then weigh loose edges with clean tools or low-profile objects.
Remove small furniture from the room; move larger pieces to the center and cover them with tightly secured plastic sheeting.
Don’t rely on a drop cloth alone over carpet: place plastic underneath to block seepage, then add canvas for traction.
Keep your paint color, brushes, and containers on a protected work surface, not directly on the floor.
Check coverage before starting, and reposition cloths whenever you move.
Tape Trim Edges
Once the floors and furniture are covered, apply painter’s tape to baseboards, door and window casings, and other trim you won’t be painting. Clean dusty surfaces first so the tape adheres securely. Use quality, low-tack tape suited to your trim’s finish, and press it firmly along the edge with a putty knife or your fingertip.
Overlap corners neatly, then run a damp cloth across the tape to remove small gaps where paint could seep beneath. This edge masking creates a crisp boundary without damaging finished wood or painted surfaces.
Don’t stretch the tape as you apply it; relaxed tape follows contours more reliably. Paint up to, but not heavily over, the taped line.
For clean tape removal, peel slowly at a 45-degree angle while the final coat remains slightly soft.
Move or Cover Furniture
Clear the room as much as possible, moving furniture outside or to the center so you can reach every wall. Plan your furniture arrangement before shifting heavy pieces, and use a partner for bulky items. Keep at least two feet between furniture and painted surfaces, allowing room to work and preventing accidental splatters.
Cover remaining furniture completely with plastic sheeting or clean decorative covers, securing edges with painter’s tape. Don’t rely on old sheets alone; paint can soak through fabric. Remove cushions, lamps, artwork, and removable hardware, then store them in a labeled, protected area.
Lay canvas drop cloths across the entire floor, overlapping seams and taping edges near trim. Canvas stays in place better than plastic and absorbs spills. Cover baseboards and door thresholds, too, so drips won’t stain finished surfaces.
Clean and Prepare Walls for Painting
Clean, sound walls give paint a smoother finish and help it adhere properly. Start by dusting from ceiling to floor with a microfiber cloth or vacuum brush, paying attention to corners, trim edges, and wall texture.
Mix warm water with a small amount of mild detergent, then wipe away fingerprints, grease, and airborne grime using a nonabrasive sponge. Don’t saturate drywall; work in manageable sections and rinse with clean water.
Let every surface dry completely before continuing. A degreasing cleaner may help in kitchens, but test it first in an inconspicuous area.
Remove soap residue, since it can interfere with bonding and affect the final paint sheen. Finally, run your hand over the walls to detect remaining dust, and wipe those spots with a clean, dry cloth.
Repair Cracks, Holes, and Wall Damage
Inspect the walls in strong side lighting to find nail holes, dents, hairline cracks, and loose or peeling material.
Scrape away unstable paint and drywall fragments with a putty knife, then lightly sand the edges.
Press spackle into small holes and dents, overfilling them slightly so you can sand the surface flush after it dries.
For larger damage, cut away ragged material, fit a drywall patch, and secure it firmly before applying joint compound in thin layers.
Open hairline cracks slightly with a utility knife, remove dust, and complete crack repair with flexible filler or joint compound.
Match the existing wall texture by stippling, rolling, or spraying the repair compound while it remains workable.
Let every repair dry fully, then sand gently until the wall feels smooth and solid.
Prime Walls for Better Paint Coverage
Prime repaired walls with the right formula for your surface and paint type, such as stain-blocking primer for patched areas.
Apply thin, even coats with a quality roller or brush, and let each coat dry fully before painting.
Choose the Right Primer
The right primer helps your paint adhere evenly, hides stains and repairs, and reduces the number of finish coats you’ll need. Start with primer selection based on your wall’s condition and your paint type.
Choose a drywall primer for fresh, porous joint compound or new drywall; it seals uneven absorption and creates a consistent foundation. For glossy, previously painted surfaces, select a bonding primer to improve surface adhesion.
Use a stain-blocking primer for water marks, smoke residue, grease, crayon, or tannin bleed. If you’re covering a dark color with a lighter shade, tinted primer can improve coverage and color accuracy.
For bathrooms, kitchens, or other damp areas, choose a mildew-resistant formula. Read the label carefully, and confirm compatibility with your existing finish before buying.
Apply Even Primer Coats
Once you’ve chosen the right formula, apply primer in a thin, even coat to create a uniform surface for your paint. Stir thoroughly, then load your roller lightly and remove excess on the tray’s ridges.
Work in manageable sections, rolling in overlapping W-shaped passes to distribute the product without ridges or heavy edges. Use a quality brush to cut in corners, around trim, and along fixtures, blending those marks into the rolled areas while the primer remains wet.
Don’t press hard; steady, moderate pressure produces consistent coverage. Check the surface texture from several angles, watching for drips, skips, or glossy patches. Smooth imperfections immediately, and let the coat dry according to the label.
Proper drying time strengthens primer adhesion and helps your finish coat spread evenly, reducing flashing and uneven color.
Roll and Brush Even Paint Coats
Load your roller evenly, remove excess paint on the tray’s ridges, and apply it in overlapping W-shaped strokes to distribute coverage without creating heavy edges. Work in manageable sections, keeping a wet edge so each pass blends smoothly with the next. Use moderate pressure; pressing too hard can thin the paint and leave texture differences.
For corners, trim, outlets, and narrow areas, use a quality angled brush. Lay on paint with controlled brush strokes, then lightly smooth the surface without overworking it.
Follow consistent roller techniques, maintaining the same direction and pressure across the wall. Reload before the roller runs dry, and spread paint from several angles to cover the roller’s stipple evenly.
Check your progress under steady lighting, and let the coat dry according to the manufacturer’s instructions.
Fix Drips, Laps, and Uneven Paint
Even with consistent rolling and brushing, drips, lap marks, and uneven coverage can appear while the paint is still wet. Catch them promptly: use a lightly loaded brush to smooth drips from the surrounding area, feathering the edges without adding pressure.
For lap marks, reload your roller and blend the overlap while the surface remains workable. Maintain a wet edge, and don’t scrub partially dried paint, which can pull the finish and create texture.
Check paint consistency before continuing. Thin, properly mixed paint spreads more evenly; excessive thinning can cause runs, while thick paint may leave ridges.
Use deliberate brush techniques, including long, light strokes in one direction, to level visible marks. If the area has dried, let it cure completely, sand raised edges lightly, remove dust, and apply a controlled touch-up coat.
Frequently Asked Questions
How Long Should Freshly Painted Walls Dry Before Hanging Artwork?
Wait at least 48 hours before hanging artwork; allow longer in cool, humid rooms. Your paint drying time depends on ventilation and coats. Complete wall preparation, then use lightweight hooks to avoid marks.
How Often Should Interior Walls Be Repainted?
Like a fresh wardrobe, you’ll typically repaint interior walls every five to ten years. Consider earlier updates for scuffs or fading; prioritize wall preparation and choose suitable paint finish types for durability and appearance.
Can Painted Walls Be Washed Without Damaging the Finish?
Yes, you can wash painted walls without damaging the finish. For effective wall cleaning, dust first, then use mild soap, warm water, and a soft sponge. Test discreetly, avoid scrubbing, and dry promptly to preserve paint durability.
What Paint Colors Make a Small Room Appear Larger?
Choose soft whites, pale blues, light grays, or warm neutrals to make your small room appear larger. Color psychology favors airy shades; if you add an accent wall, keep it subtle and slightly darker.
How Should Leftover Paint Be Stored for Future Touch-Ups?
Store leftover paint in airtight, labeled leftover paint containers. Clean rims, seal lids firmly, and keep cans upright in a cool, dry place. These paint storage tips prevent drying, contamination, and color confusion during future touch-ups.