

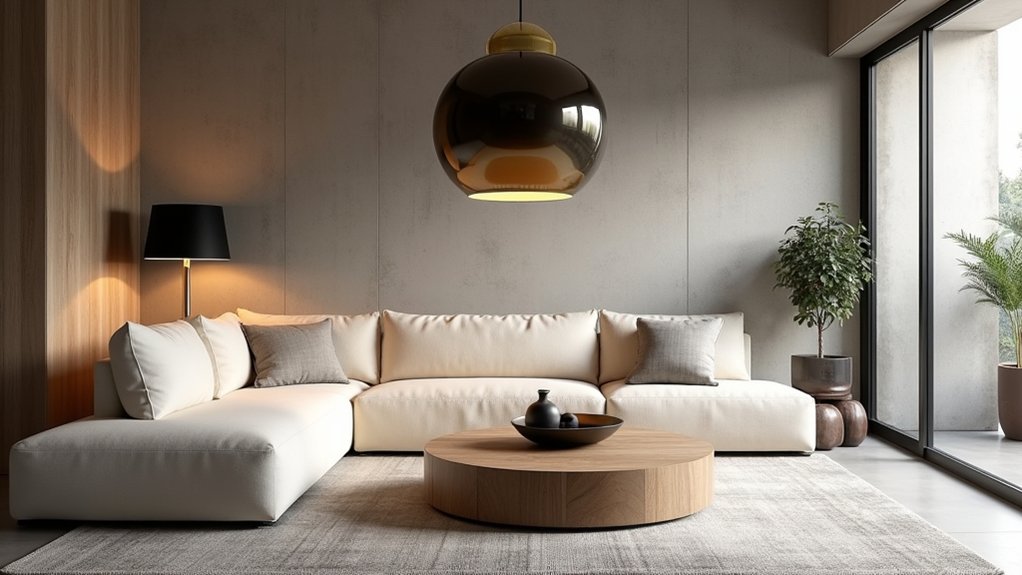
You can’t treat statement lighting like a last-minute accessory; it has to earn its cost by improving function and elevating the room’s look. Start by deciding what it must do—anchor a dining zone, define an entry, or add drama without glare—then match a clean, modern silhouette with efficient LEDs and dimmer compatibility. Size and placement matter as much as price. Next, you’ll need to avoid the most common upgrade-killer…
Start With the Job Statement Lighting Must Do
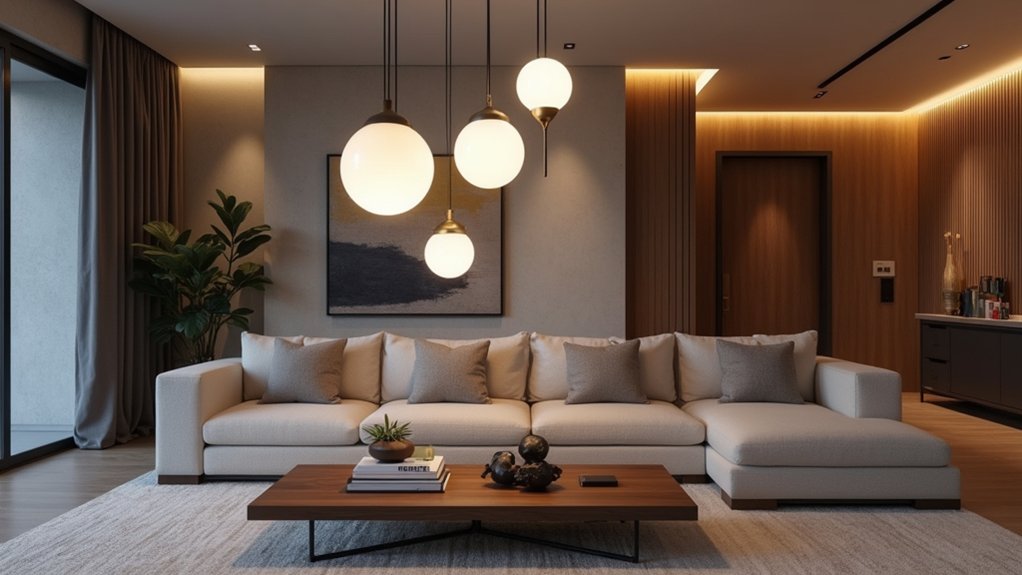
Next, lock in performance specs that protect your budget long-term. Choose bulb technology that matches use: high-CRI LEDs for true color, warm temps for relaxation, brighter lumens for work.
Prioritize energy efficiency to cut monthly bills, and verify dimmer compatibility so you don’t pay twice for buzzing or flicker.
Finally, plan layers: pair the statement piece with recessed or lamps so you’re not forced to overbuy wattage.
Match Statement Lighting to Modern Interior Style
While the “wow” factor matters, you’ll get a better ROI when your statement light reinforces your modern style instead of fighting it. If your space leans minimalist, pick clean silhouettes, thin profiles, and matte finishes; they’ll stay timeless and won’t force a pricey decor overhaul later.
In warmer modern rooms, choose softer metals and diffused shades to echo wood tones and textiles without looking dated.
Prioritize color coordination: match undertones (warm brass with warm whites, chrome with cool grays) so the light looks intentional, not “added on.” Use fixture placement to support your layout—center it over the key zone you want to sell, photograph, or enjoy most—then repeat a smaller finish elsewhere for cohesion.
You’ll avoid rework and protect resale value.
Size Statement Lighting for Your Room and Ceiling
To get the best ROI from statement lighting, you’ve got to size the fixture to your room so it looks intentional—not overpriced or undersized.
Use your ceiling height to choose the right drop and scale, keeping clearance comfortable while still making an impact.
When proportion and height align, you’ll spend once, avoid returns, and get a modern focal point that works.
Proportional Fixture Sizing
How big should your statement light be to look intentional—not overwhelming or underpowered? Start with room size: add the room’s length and width (in feet), then convert that total to inches for a smart fixture diameter. A 12′ x 14′ space points to about a 26″ statement piece.
Over a dining table or island, aim for a fixture about one-half to two-thirds the surface width so it frames the zone and boosts perceived value. If you’re layering multiple pendants, keep the combined width within that target and space them evenly.
Choose LEDs for energy efficiency, and add dimming controls so one fixture handles task, ambient, and mood—saving you from buying extra lights later.
Ceiling Height Considerations
Because ceiling height changes what looks balanced and what actually works day to day, you’ll want to size—and hang—statement lighting to protect headroom and keep the room feeling intentionally scaled.
In rooms with 8-foot ceilings, choose a low-profile semi-flush or tight chandelier and keep the bottom at least 7 feet above the floor (or 30–36 inches above a table).
With 9–10 feet, you can go larger and drop it lower to anchor seating without glare.
For vaulted ceilings, use longer downrods so the fixture doesn’t float.
Save money by picking LEDs for energy efficiency, then add dimming options to stretch usefulness from task light to evening ambience.
Proper height prevents bumps and costly returns, too.
Pick Statement Lighting Finishes That Coordinate
While bold shapes grab attention, the finish is what makes statement lighting look intentional—and keeps you from wasting money on a fixture that clashes later. Start by inventorying fixed elements you won’t replace soon: cabinet hardware, faucets, door levers, appliance trims, and window frames.
Match your light’s metal tone to the dominant finish, then add one controlled contrast if you’ve already mixed metals. Tie finishes to your color schemes: warm whites and earth tones pair with brass or bronze; cool grays and crisp whites suit chrome, nickel, or black.
Factor in material textures too—matte black looks cleaner on smooth surfaces, while brushed metals hide fingerprints and wear, protecting resale value. Order swatches, view them at night, and choose durable coatings to avoid replacement costs.
Place Statement Lighting for Balance and Impact
Nail the finish, then make sure the fixture sits where it earns its keep. Anchor it to the room’s main sightline: over the dining table, centered in the seating zone, or aligned with a kitchen island. Measure twice—hang heights and clearances prevent costly rework and protect resale appeal.
Balance scale with spacing. If the chandelier’s wide, pull surrounding furniture in so it reads intentional, not floaty. Use Color contrast to direct attention: place a dark fixture against a pale ceiling, or a bright piece in a moody corner.
Let Material textures do the heavy lifting—metal over stone, glass near wood—so you get impact without buying more décor. Finally, avoid blocking windows and artwork; your lighting shouldn’t steal value from what you already own.
Layer Statement Lighting With Ambient and Task Light
Once you’ve picked a statement fixture, treat it as the focal point—not the only light source. Back it up with affordable ambient lighting so the room feels even and your feature doesn’t have to run at full brightness. Add dimmable recessed LEDs, a slim ceiling flush-mount, or wall washers to reduce glare and boost Energy efficiency.
Then build task light where you work: under-cabinet strips for kitchens, a swing-arm sconce by the bed, or an adjustable desk lamp in your office. You’ll spend less on higher-watt statement bulbs and extend fixture durability by lowering heat and on/off cycling.
Put each layer on separate switches or a smart dimmer, so you can tune mood, cut wasted electricity, and protect your investment long-term.
Frequently Asked Questions
How Do I Clean and Maintain Different Statement Lighting Materials Safely?
You’ll clean safely by cutting power, dusting weekly, and using gentle soap on glass/metal, microfiber on acrylic, dry cloth on wood; follow Cleaning tips and Material maintenance to avoid “designer” damage, protect warranties, and save replacement costs.
What Are Common Electrical Requirements for Installing Statement Lighting Fixtures?
You’ll typically need a dedicated circuit, correct voltage, proper junction box support, grounding, and code-approved dimmer compatibility. For energy efficiency, choose LEDs. Installation tips: verify breaker capacity, wire gauge, and hire a licensed electrician.
Are Smart Bulbs Compatible With Most Statement Lighting Designs?
Yes, you’ll find smart bulb compatibility with most statement lighting styles if you match base type, size, and dimming. You’ll save on upgrades, cut energy costs, and keep flexible control—without replacing fixtures.
How Do I Reduce Glare and Eye Strain From Statement Lighting?
You’ll cut glare reduction and boost eye comfort by dimming, aiming fixtures away from sightlines, adding diffusers/shades, and using warm LEDs. Layer ambient lighting, avoid bare bulbs, and choose matte finishes—small upgrades save money.
What Budget Range Should I Expect for Quality Statement Lighting?
You’ll typically spend $150–$600 for quality statement pieces; $600–$2,000 for premium. Like a beacon, smart Lighting design and durable Fixture styles boost ROI—buy efficient LEDs, solid metals, warranties, and scalable dimming.