

You can restore original timber floors without sanding the life out of them, but you’ve got to start with a careful check-up. Mark stains, soft spots, and lifted boards, then test moisture so you don’t trap damp under a finish. Clean gently and trial your stripper or light sand on a hidden patch first, because the wrong method will shred the grain fast. Next, you’ll decide what to fix, what to leave, and what to seal…
Inspect Your Timber Floor Before You Start

Before you rent a sander or buy finish, take a slow, systematic look over your timber floor so you don’t waste time and money fixing the wrong problem. Walk every board in good light and mark squeaks, springy spots, and loose nails with painter’s tape.
Check for cupping, crowning, or gaps that signal moisture issues; measure humidity and look for staining near doors, sinks, and exterior walls.
Confirm how much wear layer you’ve got by checking thresholds, vents, or a discreet edge—thin boards limit aggressive work and affect floor durability.
Identify old coatings (wax, oil, polyurethane) with a small solvent test so you plan compatible repairs.
Note deep dents and split grain for targeted grain preservation.
Choose a Stripping Method That Won’t Tear the Grain
To strip old finish without tearing the grain, you’ve got to match the method to the timber and the coating, not just the fastest tool. Start with a gentle chemical stripper where sanding would gouge soft boards or clog paper, and work in small sections so you don’t waste product.
If you do sand, choose low-abrasion options—fine grits, light passes, and a random-orbit sander—to remove finish while keeping the surface flat and the grain intact.
Gentle Chemical Strippers
If you want to strip a finish without raising splinters or softening the grain, reach for a gentle chemical stripper instead of aggressive sanding.
For chemical removal and grain preservation, pick a low-odor, non-caustic stripper labeled safe for timber, and avoid methylene chloride.
Work in small sections, spread a thick, even coat with a cheap disposable brush, and cover with plastic film to slow evaporation and cut product waste.
Let it dwell per the label, then lift softened finish with a plastic scraper, keeping the edge flat to prevent gouges.
Wipe residue with mineral spirits or water as specified, changing rags often.
Neutralize if required, then let the boards dry fully before moving on.
Wear gloves, eye protection, and ventilate well throughout.
Low-Abrasion Sanding Options
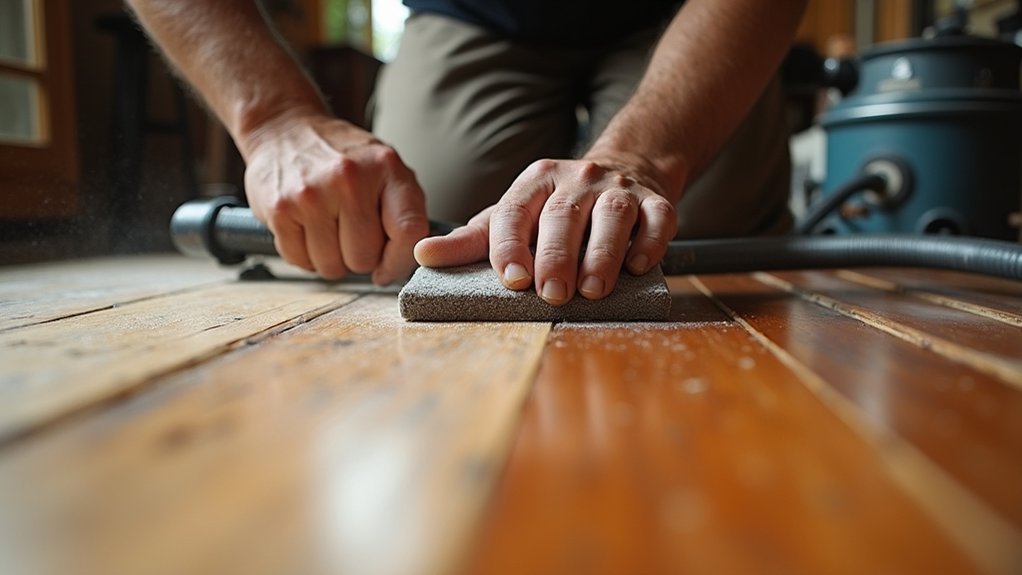
When you’d rather keep the floor’s texture crisp than risk tearing soft grain, switch to low-abrasion sanding that skims the finish instead of digging into the boards. Start with a 150–180 grit screen on a buffer, not a drum sander, and keep the pad moving to avoid swirl marks.
For edges, use a random-orbit sander with the same grit and light pressure. If the finish is thin, try wet sanding with mineral spirits to reduce heat and loading.
These abrasion techniques cost less than aggressive sanding because you remove less timber and buy fewer belts. Vacuum between passes, then inspect under raking light. Stop as soon as the sheen dulls evenly; that’s grain preservation, not overwork.
Recoat promptly to seal fibers.
Sand Timber Floors Lightly (and Only If Needed)

Although sanding seems like the obvious next step, you’ll get better results (and spend less time fixing mistakes) by doing it lightly—and only where the floor truly needs it. Start with a test patch in an inconspicuous corner so you don’t overcut.
If the finish is thin and the surface is mostly flat, skip full-room sanding and spot-sand only scuffs, raised fibres, or stubborn stains. Use the least aggressive grit that works (often 120–150), and keep the sander moving with the boards to support grain preservation.
Feather edges into surrounding areas to avoid halos, then vacuum thoroughly and wipe with a tack cloth. These refinishing techniques save money on abrasives and reduce dust, while keeping the original character intact overall.
Repair Loose Boards and Fix Squeaks Safely
Start by pinpointing where the squeak comes from—board-to-joist movement, rubbing edges, or a loose nail—so you don’t waste time or fasteners.
Secure any loose boards gently with the least invasive fix first, like adding a trim screw into a joist or re-nailing through an existing hole, then set it flush to avoid splits.
Fill small gaps with a flexible filler or slivers only where needed, and don’t force tight joints that’ll buckle when the timber moves.
Identify Squeak Sources
Before you reach for nails or filler, track down exactly what’s squeaking, because the fix depends on whether the movement comes from a loose board, a rubbing tongue-and-groove edge, or the subfloor flexing on a joist.
Start with basic squeak analysis: walk slowly, mark each noise with painter’s tape, and note if it happens on the downstep, upstep, or both.
Check grain alignment and board seams; a squeak that follows a seam often signals edge rub, while a noise centered mid-board can point to fastener play or cupping.
Use a thin feeler gauge or card to test gaps, then shine a torch along the joint to spot movement.
If you’ve got access below, watch for joist bounce and nail shiners.
Secure Loose Boards Gently
Once you’ve pinpointed the squeak, secure the board with the least invasive method first so you don’t split old timber or create visible repairs. Start below: if you can access the underside, add a thin shim or a dab of construction adhesive between joist and board, then clamp or brace until set.
For loose board security from above, drive a pair of finishing nails at opposing angles into the joist, set them with a nail punch, and stop as soon as the board seats. If you must use screws, choose trim-head or flooring screws, predrill, and sink them just flush to avoid tearing grain.
Add talc or graphite at board edges to reduce friction. Test by walking, then re-tighten lightly if needed.
Fill Gaps Without Stress
Although a few millimetres of space is normal in older timber floors, wider gaps can snag socks, funnel dirt, and let boards rub and squeak, so it’s worth filling them in a way that still allows seasonal movement.
Vacuum the joint, then choose a flexible solution: cork or foam gap strip for long runs, or a colour-matched flexible filler for small, irregular gaps. Avoid rigid putty; it’ll crack when boards expand.
To calm squeaks, dust talc or graphite into tight seams, or drive a thin screw into a joist after pre-drilling and countersinking, then plug with matching timber.
Keep moisture control steady (40–60% RH) to reduce shrink-swell cycles.
Check furniture placement: rugs and heavy pieces can hide movement and worsen rubbing.
Fill Gaps in Timber Floors Without Patchy Colour
If you want to fill gaps in timber floors without ending up with obvious, patchy colour, you need to match the filler to the final finish—not just the raw timber. Test color matching on offcuts or in a closet: apply your intended stain/oil, then evaluate filler colour once it cures.
Choose a flexible, stainable gap filler for hairline gaps, and a sliver-insert (thin timber strip) for wider gaps. Strips keep the tone truer and support grain preservation.
Tint filler sparingly with universal pigments or fine sanding dust from the same species, but don’t overload or it’ll go muddy. Pack the gap in thin layers, slightly proud, so shrinkage doesn’t telegraph later.
Keep tools tight to the joint so you don’t smear surrounding boards.
Clean and Prep Timber Floors for an Even Finish
Gap filling looks best when the surrounding boards finish evenly, so put time into cleaning and prep before you open a tin of stain or oil.
Start by vacuuming slowly along every board seam, then wipe with a barely damp microfibre to lift fine dust that can dull Wood staining.
Next, remove residues: spot-scrape old paint flecks with a plastic scraper, and cut waxy buildup with mineral spirits on a rag (test first). Don’t flood the boards—moisture raises grain and creates blotches.
Wash only if needed, using a pH-neutral wood cleaner, then let the floor dry fully.
Finally, check your sanding dust control: tack cloths can leave residue, so use a clean vacuum and anti-static mop instead.
Mask skirting and vents to keep floor sealing edges crisp.
Finish Timber Floors With Oil or Sealer Correctly
Once the floor’s clean, dry, and dust-free, you can lock in the look with either a penetrating oil or a surface sealer—choose based on wear, sheen, and how much upkeep you’re willing to do. Oils soak in, highlight grain, and let you spot-repair cheaply; sealers build a harder film and resist stains but show scratches and cost more to recoat.
Before Finish application, test a small corner for colour and drying time.
Stir, don’t shake, and apply thin coats with a pad or roller, keeping a wet edge.
Wipe excess oil within 10–15 minutes to prevent sticky patches.
For sealers, check Sealant compatibility with existing coatings and fillers, and sand lightly between coats if specified.
Ventilate well, respect cure times, and avoid rugs for a week.
Frequently Asked Questions
How Do I Identify if My Timber Floor Is Heritage-Listed?
Check your local council’s heritage register, your property title, and planning overlays. If listed, you’ll see Historical significance notes and Preservation guidelines. Call council or a heritage consultant for confirmation before you budget repairs.
What’s the Safest Way to Remove Old Carpet Glue From Timber?
You’ll remove old carpet glue safest by softening it with citrus/soy adhesive remover and scraping with a plastic blade. Nearly 30% of timber floor damage comes from sanding too soon. During carpet removal, do careful glue stripping, ventilate, test first.
How Long Should I Wait Before Placing Furniture Back on the Floor?
Wait 24–48 hours before Furniture placement, but follow your finish’s drying time: water-based often needs 24 hours, oil-based 72 hours. You’ll avoid dents and save refinishing costs. Use felt pads and lift.
Which Finish Is Best for Homes With Pets and High Foot Traffic?
Choose a water-based polyurethane in satin; it’s durable, low-odor, and affordable. For Pet safe finishes and High traffic coatings, add an extra topcoat and use hardeners. You’ll get scratch resistance and easy cleanup.
How Can I Reduce Restoration Dust and Fumes in Occupied Rooms?
As dust motes drift in a sunbeam, you’ll cut dust and fumes by sealing door gaps, running air filtration, and opening cross-ventilation. You’ll wear respirator masks, wet-sand when possible, and schedule off-hours.